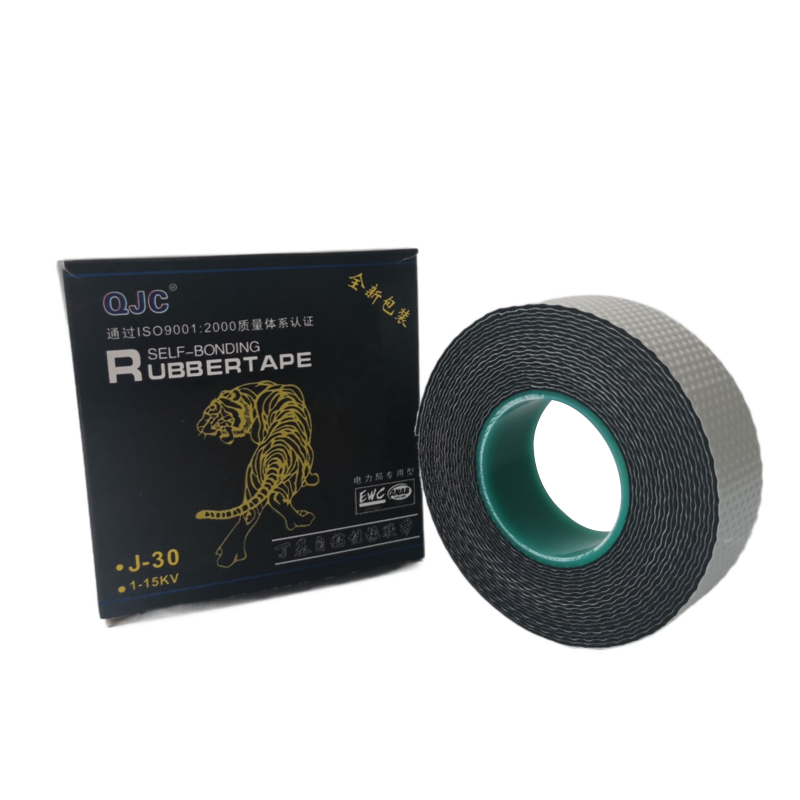
How to Use Self-Amalgamating Tape A Comprehensive Guide
Self-amalgamating tape, also known as self-fusing tape or silicone tape, is an exceptional tool for various sealing and insulating applications. Unlike traditional adhesive tapes, self-amalgamating tape bonds to itself, creating a water-tight seal without the need for glue or additional adhesives. This makes it a versatile and handy solution for professionals and DIY enthusiasts alike. In this article, we will explore what self-amalgamating tape is, its applications, and a step-by-step guide on how to use it effectively.
What is Self-Amalgamating Tape?
Self-amalgamating tape is typically made from silicone rubber or a similar polymer. The unique self-bonding property allows the tape to fuse to itself when stretched and wrapped around objects, creating a robust seal. It is resistant to moisture, chemicals, and UV rays, making it ideal for both indoor and outdoor applications. Additionally, it can withstand a wide temperature range, from -60°C to 260°C (-76°F to 500°F), which enhances its utility in diverse environments.
Applications of Self-Amalgamating Tape
Self-amalgamating tape can be utilized in numerous applications, including
1. Electrical Insulation It can insulate exposed wires and connections to prevent short circuits and electrical hazards. 2. Plumbing Repairs It is effective for sealing leaking pipes or joints, providing a temporary fix until a permanent solution is applied. 3. Automotive Uses Mechanics often use it to wrap cables and hoses, offering protection against moisture and wear. 4. Home Repair Projects It can be handy for sealing uneven surfaces and gaps, making it popular for DIY repairs. 5. Hiking and Camping Outdoor enthusiasts may carry it for emergency repairs on gear, tents, or backpacks.
How to Use Self-Amalgamating Tape
Using self-amalgamating tape is straightforward, but proper technique will ensure optimal results. Follow these steps for effective application
Step 1 Prepare the Surface
Before applying the tape, clean the surface area where it will be applied. Remove any dirt, dust, grease, or moisture, as this will enable better bonding. Ensure that the surface is dry and free from any contaminants.
Step 2 Cut the Tape
self amalgamating tape how to use

Cut the length of tape you will need for your application. It is advisable to cut a piece of tape three to four times the length of the area to be covered. This allows for sufficient overlap and secure sealing.
Step 3 Stretch the Tape
Begin by stretching the tape while winding it around the object or surface. Self-amalgamating tape needs to be stretched to activate its bonding property. Hold one end of the tape against the surface and pull on the other end as you wrap it around, ensuring a snug fit.
Step 4 Overlap the Layers
Continue wrapping the tape, overlapping the layers by at least half of the tape's width. This overlap helps to create a durable seal. Remember, the more layers you apply, the stronger the seal will be.
Step 5 Finish the Application
Once you have covered the desired area, cut off any excess tape, and press the end against the last layer to secure it. The tape will begin to amalgamate within a few minutes, creating a solid bond.
Step 6 Allow Curing Time
Although the tape begins to fuse immediately, it’s best to allow it to cure for at least 24 hours before putting it under pressure or exposing it to the elements. This ensures that the bond is fully formed.
Conclusion
Self-amalgamating tape is an incredibly useful product that can simplify various repair tasks, providing a reliable and lasting solution without the mess of traditional adhesives. By following the steps outlined above, you can effectively utilize this versatile tape for a variety of applications. Whether you’re dealing with electrical repairs, plumbing fixes, or DIY projects, self-amalgamating tape is sure to become a valuable addition to your toolkit.
-
Self Amalgamating Tape: Redefining Electrical Insulation and ProtectionNewsAug.07,2025
-
Seal Strip Solutions: Revolutionizing Energy Efficiency and Comfort in Modern BuildingsNewsAug.07,2025
-
High Voltage Electrical Tape: Powering Safety and Reliability in Modern InstallationsNewsAug.07,2025
-
Flex Tape Waterproof: Transforming the Future of Instant RepairsNewsAug.07,2025
-
Elevate Electrical Safety Standards with High-Performance PVC Electrical TapeNewsAug.07,2025
-
Butyl Rubber Tape: The Ultimate Solution for Reliable Sealing and WaterproofingNewsAug.07,2025
