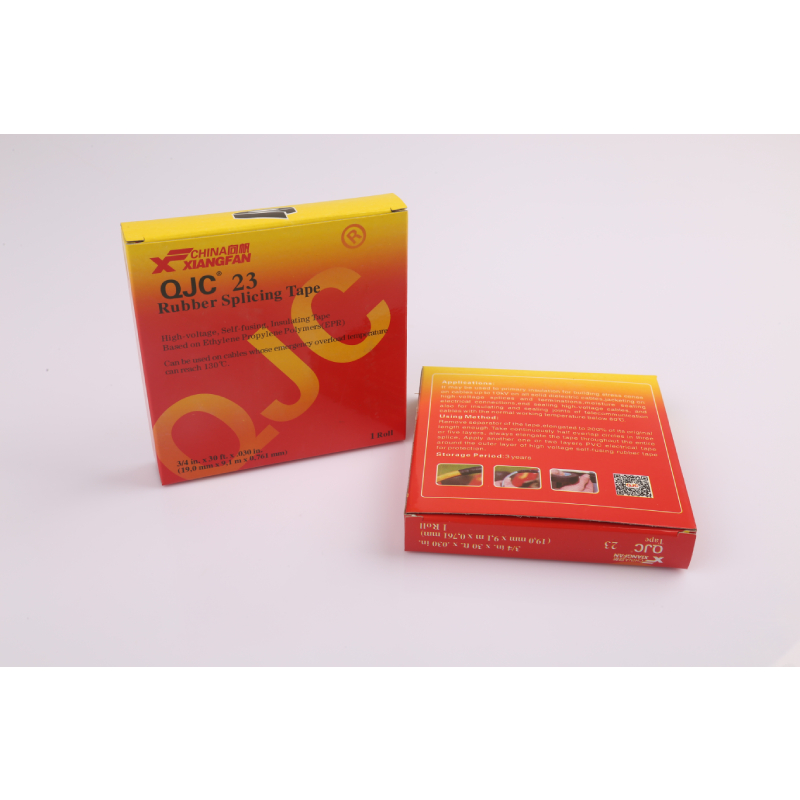
How to Use Self-Amalgamating Tape
Self-amalgamating tape, also known as self-vulcanizing tape, is a unique and highly versatile tool used in various applications, from electrical insulation to plumbing repairs. Unlike traditional tapes, this tape does not contain an adhesive; instead, it fuses to itself upon application, creating a strong and waterproof bond. This article will guide you through the steps of using self-amalgamating tape effectively.
Understanding Self-Amalgamating Tape
Self-amalgamating tape is generally made of silicone, rubber, or a similar polymer material. Its properties allow it to conform to various shapes and surfaces while providing excellent insulation and waterproofing capabilities. It's important to note that the tape must be applied correctly to ensure a strong seal that withstands environmental conditions.
Preparation Before Application
Before starting with self-amalgamating tape, it is essential to prepare the surface you intend to cover. Follow these steps
1. Clean the Surface Ensure that the area is clean and free of dirt, grease, and moisture. Use a suitable cleaner or solvent to wipe the surface and allow it to dry completely.
2. Inspect for Damage Check the area for any pre-existing damage that may require repair. If there are significant leaks or structural issues, address them before applying the tape.
Application Steps
Now that your surface is prepped, here’s how to apply self-amalgamating tape effectively
1. Measure the Length Cut a length of tape that is sufficient to wrap around the area you’re repairing, with a little extra to overlap. A good rule of thumb is to use at least three wraps for a secure seal.
how to use self amalgamating tape

2. Start Wrapping Begin wrapping the tape at one end of the area you intend to cover. Stretch the tape slightly as you wrap it around the surface. This tension will help create a tight seal.
3. Overlap the Layers As you continue to wrap the tape, ensure that each layer overlaps the previous one by about 50%. This technique helps to seal any gaps and provides additional durability.
4. Smooth the Tape After you have wrapped the tape, press it gently but firmly to eliminate any air bubbles and promote self-amalgamation. Ensure the tape adheres to itself without any air pockets.
5. Finish the Application Once you reach the end of the tape, trim off any excess using scissors. Press the last edge down firmly to promote bonding.
Curing Time
One of the key advantages of self-amalgamating tape is its quick curing time. After application, the tape typically cures within a few hours, depending on the environmental conditions. Avoid exposing the repaired area to moisture or stress during this curing period.
Final Tips
- Temperature Considerations Self-amalgamating tape performs best at room temperature. If you’re working in extreme cold or heat, allow the tape to acclimate to the ambient temperature before applying.
- Use in Multiple Applications This tape is not limited to electrical repairs; it can be used for plumbing, automotive, and general household repairs.
In summary, self-amalgamating tape is an innovative solution for a variety of repair needs. By properly preparing the surface and applying the tape with care, you can achieve a reliable and long-lasting seal that withstands the test of time. Whether you’re an experienced DIYer or a first-time repairer, self-amalgamating tape can be an invaluable addition to your toolkit.
-
Self Amalgamating Tape: Redefining Electrical Insulation and ProtectionNewsAug.07,2025
-
Seal Strip Solutions: Revolutionizing Energy Efficiency and Comfort in Modern BuildingsNewsAug.07,2025
-
High Voltage Electrical Tape: Powering Safety and Reliability in Modern InstallationsNewsAug.07,2025
-
Flex Tape Waterproof: Transforming the Future of Instant RepairsNewsAug.07,2025
-
Elevate Electrical Safety Standards with High-Performance PVC Electrical TapeNewsAug.07,2025
-
Butyl Rubber Tape: The Ultimate Solution for Reliable Sealing and WaterproofingNewsAug.07,2025
