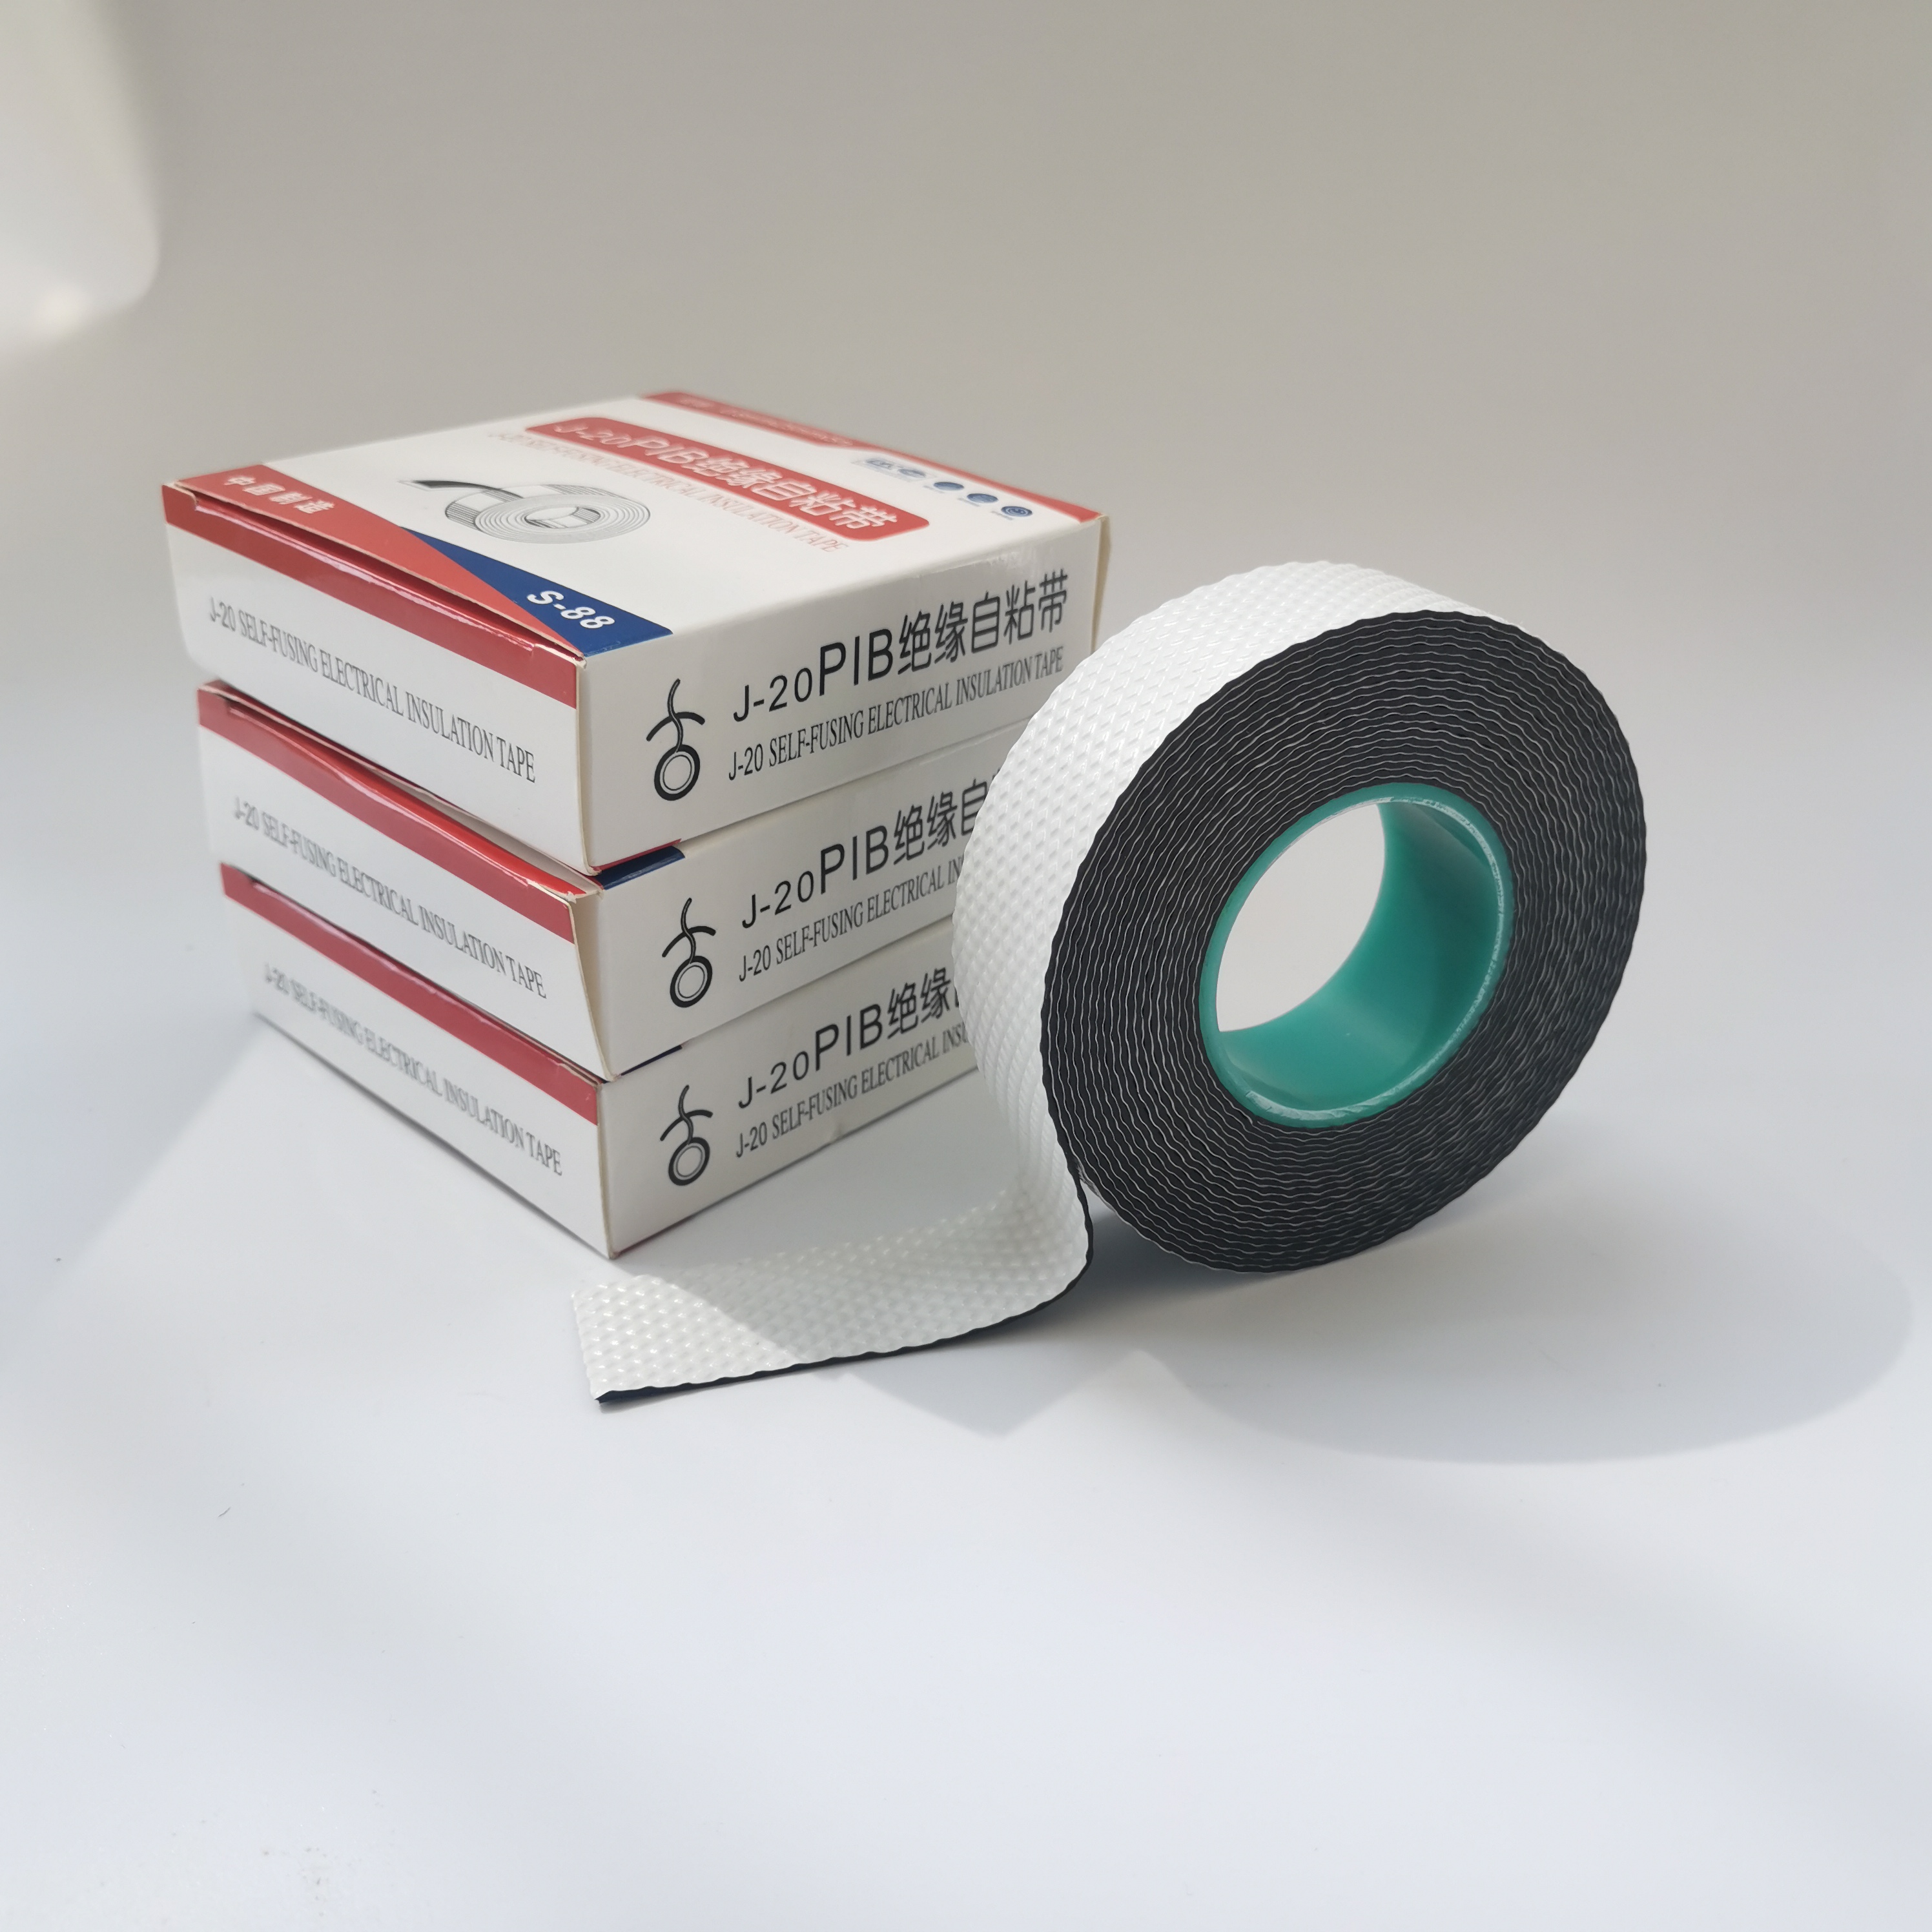
How to Use Self-Amalgamating Rubber Tape
Self-amalgamating rubber tape is a versatile and highly effective sealing material that finds its utility across various applications, from electrical repairs to plumbing fixes. Its unique properties allow it to bond to itself without the need for adhesives, making it an essential item for DIY enthusiasts and professionals alike. In this article, we will explore how to use self-amalgamating rubber tape effectively, ensuring a durable and reliable seal.
Understanding Self-Amalgamating Rubber Tape
Self-amalgamating rubber tape is made from a rubberized material that has a sticky surface on one side but requires no adhesive. When you stretch and wrap the tape around an object, it fuses to itself, creating a waterproof and airtight seal. This makes it ideal for use in environments where moisture resistance is crucial, such as electrical applications and plumbing repairs.
Step-by-Step Guide to Using Self-Amalgamating Rubber Tape
1. Preparation of the Surface Before applying the tape, ensure that the surface you plan to wrap is clean and dry. Any dirt, grease, or moisture can interfere with the tape's ability to bond properly. Use a cloth or a cleaning solution to wipe down the area thoroughly.
2. Choosing the Right Tape Self-amalgamating rubber tape comes in various widths and thicknesses. Choose a tape that fits your specific application. For electrical jobs, a thinner tape may suffice, while thicker tape may be necessary for plumbing repairs or situations that require more durability.
3. Cutting the Tape Cut the tape to the desired length with scissors. A good rule of thumb is to start with a length that is at least two to three times the circumference of the object you’re wrapping. This will allow for overlapping layers, enhancing the seal’s effectiveness.
how to use self amalgamating rubber tape

4. Stretching the Tape For optimal results, pull the tape as you wrap it around the object. Stretching the tape increases its thickness and ensures a tighter seal. Additionally, stretching helps the tape bond to itself more effectively, enhancing its waterproof qualities.
5. Wrapping Technique Start wrapping the tape at one end of the object and work your way to the other end. Overlap each layer by about half of its width to avoid gaps and ensure complete coverage. Aim for a consistent tension to prevent the tape from tearing or losing its bonding capabilities.
6. Finishing Off Once you reach the end of the object, cut the tape, leaving a small amount of overlap. Press the end of the tape firmly against the previous layer to ensure it sticks well. Hold the wrap for a few seconds to give it a chance to amalgamate effectively.
7. Setting Time After applying the tape, it’s advisable to allow some time for it to set and bond perfectly. While it bonds quickly, giving it a few minutes will ensure a strong, durable seal.
Applications of Self-Amalgamating Rubber Tape
Self-amalgamating rubber tape is applicable in a wide range of scenarios. It is commonly used in electrical repairs, such as insulating wires, preventing short circuits, and protecting electrical connections from moisture. Additionally, it can be utilized in plumbing to temporarily seal leaks or to wrap hoses and fittings. Some users also employ it for automotive applications, protecting wiring and hoses from wear and exposure.
Conclusion
Self-amalgamating rubber tape is a game-changer in the world of repairs and maintenance. Its simplicity of use, combined with its impressive sealing capabilities, makes it an indispensable tool. By following the steps outlined above, you can enjoy effective and lasting repairs that stand the test of time, ensuring safety and reliability in your projects.
-
Versatility with Tape Electrical InsulationNewsJun.09,2025
-
Floor Marking Tapes For WareHouseNewsJun.09,2025
-
Enhance Your Projects with PVC Electrical TapesNewsJun.09,2025
-
Enhance Your Projects with Automotive Wiring Harness TapeNewsJun.09,2025
-
Enhance Your Automotive Fabric TapesNewsJun.09,2025
-
Enhance Electrical Projects with Cambric TapeNewsJun.09,2025
