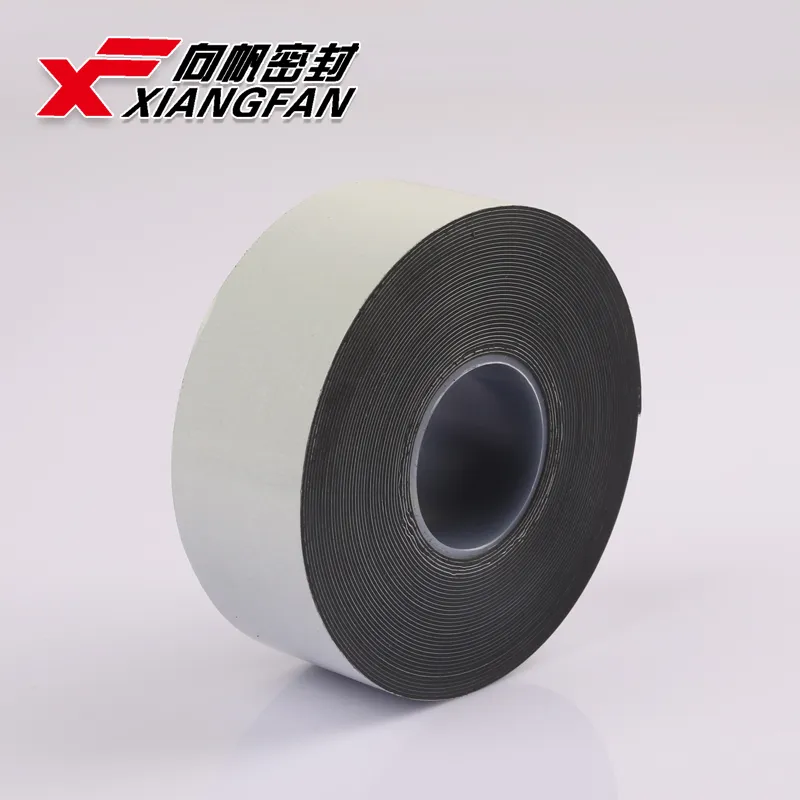
How to Use Self-Amalgamating Tape A Comprehensive Guide
Self-amalgamating tape, also known as self-fusing tape, is a versatile and invaluable tool for a variety of applications, ranging from electrical insulation to plumbing repairs. Its unique properties allow it to bond to itself without the need for adhesives, making it a go-to solution in many situations. This article explains how to effectively use self-amalgamating tape, ensuring you make the most of this fantastic product.
What is Self-Amalgamating Tape?
Self-amalgamating tape is made from a rubber-based material that becomes sticky when stretched and pressed together. It is designed to fuse with itself, creating a watertight and airtight seal. This tape is particularly useful in environments where traditional adhesive tapes may fail, as it can withstand extreme temperatures, moisture, and UV exposure. Common uses include electrical insulation, waterproofing, and sealing leaks in hoses and pipes.
Step-by-Step Guide on How to Use Self-Amalgamating Tape
1. Preparation Before applying self-amalgamating tape, ensure that the surface is clean and dry. Remove any dirt, grease, or old adhesive residue for optimal adhesion. If necessary, use a cleaning agent and a cloth to prepare the area.
2. Cut the Tape Choose the appropriate width and length of the self-amalgamating tape for your project. It is available in various sizes. A wider tape is beneficial for larger repairs, while a narrower tape can be more manageable for intricate areas.
3. Stretch the Tape Begin wrapping the tape around the target area. As you wrap, gently stretch the tape to activate its self-fusing properties. It is crucial to overlap the tape by approximately half its width with each turn. This overlap ensures the tape adheres properly and provides a robust seal.
how to use self amalgamating tape

4. Seal the Ends Once you have wrapped the tape sufficiently, finish by ensuring the end of the tape adheres to the already wrapped layers. Smooth down the end with your fingers to eliminate air bubbles and create a tight seal.
5. Curing Time After application, allow the tape to cure for at least 24 hours for maximum effectiveness. During this time, the tape will fuse into a solid mass, creating a reliable seal that can withstand various environmental conditions.
Key Tips for Using Self-Amalgamating Tape
- Layering If the application requires extra protection, you can apply multiple layers of tape, ensuring each layer overlaps by half to maintain a tight bond.
- Temperature Considerations Self-amalgamating tape can handle temperature extremes, but for the best results, apply it in mild weather conditions.
- Storage Store the tape in a cool, dry place away from direct sunlight to maintain its integrity and usability.
In conclusion, self-amalgamating tape is an essential tool that can simplify many repair tasks. By following the steps outlined above, you can effectively utilize this innovative tape to create durable, weather-resistant seals in a variety of applications. Whether you're making electrical repairs, sealing leaks, or undertaking DIY projects, mastering the use of self-amalgamating tape will undoubtedly enhance your repair skills and efficiency.
-
XIANGFAN Rubber Tape-Ultimate Solutions for All Your Insulation NeedsNewsJun.24,2025
-
XIANGFAN Rubber Tape-Protection for Industrial and Residential ApplicationsNewsJun.24,2025
-
XIANGFAN Rubber Tape: Superior Safety and Sealing for Demanding EnvironmentsNewsJun.24,2025
-
XIANGFAN Rubber Tape: Reliable Solutions for Every Electrical ChallengeNewsJun.24,2025
-
XIANGFAN Electrical & Industrial Tape: Powering Reliability Across IndustriesNewsJun.24,2025
-
XIANGFAN Electrical & Industrial Tape: Excellence in Every ApplicationNewsJun.24,2025
