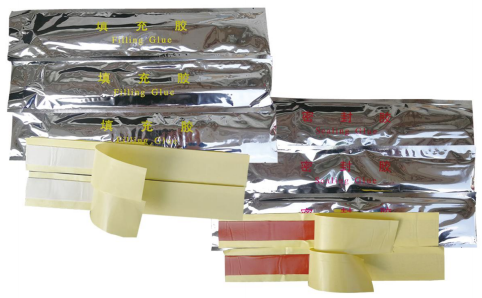
How to Use Rubber Splicing Tape A Comprehensive Guide
Rubber splicing tape is an essential tool for many electrical and mechanical applications. It is designed to insulate, protect, and repair electrical connections or components, making it perfect for both professional use and DIY projects. In this article, we will explore what rubber splicing tape is, its benefits, and how to effectively use it.
What is Rubber Splicing Tape?
Rubber splicing tape is a self-fusing adhesive tape made from a rubber-based material. This type of tape does not have a sticky backing like traditional tapes; instead, it bonds to itself when wrapped around an object. This property allows it to create a waterproof and insulating layer, making it ideal for electrical insulation and splicing tasks.
Benefits of Using Rubber Splicing Tape
1. Self-Fusing One of the standout features of rubber splicing tape is its ability to bond to itself. This means that when you wrap the tape around an object, it will fuse and create a solid, seamless layer.
2. Waterproof and Weather-resistant Rubber splicing tape is designed to resist moisture and extreme temperatures. This makes it suitable for outdoor applications or areas subjected to varying environmental conditions.
3. Electrical Insulation The tape provides excellent electrical insulation, protecting against shorts and breaches in electric systems. It is commonly used in electrical repairs, splicing wires, and insulation of terminals.
4. Flexible and Durable Rubber splicing tape is highly flexible, allowing it to conform to various shapes and sizes. Its durability ensures that repairs or insulation remain intact over time, even under stress.
rubber splicing tape how to use

How to Use Rubber Splicing Tape Effectively
Using rubber splicing tape is straightforward, but following a few best practices can ensure optimal results.
1. Preparation Before applying the tape, ensure that the surface you are working on is clean, dry, and free from dust or grease. If you are wrapping it around wires, strip the ends of the wires and twist them together if you are splicing.
2. Angle of Application Start wrapping the tape around the intended area at a slight angle, overlapping each layer by about half the width of the tape. This helps to ensure complete coverage and a secure bond.
3. Tension Control When wrapping, maintain a moderate tension on the tape. Too much tension can cause the tape to tear, while too little may lead to inadequate insulation. Aim for a firm but not overly tight grip.
4. Complete the Wrap Continue wrapping until you have covered the entire area you wish to protect. When you reach the end of the tape, press it down firmly against the previous layer to ensure it fuses.
5. Finish and Store After applying the tape, allow it some time to fuse fully—this usually takes a few minutes. Always store the remaining tape in a cool, dry place, away from direct sunlight, to preserve its effectiveness.
Conclusion
Rubber splicing tape is a versatile and reliable tool for a wide range of applications. Whether you’re repairing electrical components, insulating wires, or undertaking other mechanical work, understanding how to use this tape effectively can lead to better results and longer-lasting repairs. With its unique self-fusing properties and protective qualities, rubber splicing tape remains a favorite among professionals and DIY enthusiasts alike. By following the steps outlined in this guide, you can ensure that your projects are completed safely and effectively, harnessing the full potential of this indispensable tool.
-
XIANGFAN Rubber Tape-Ultimate Solutions for All Your Insulation NeedsNewsJun.24,2025
-
XIANGFAN Rubber Tape-Protection for Industrial and Residential ApplicationsNewsJun.24,2025
-
XIANGFAN Rubber Tape: Superior Safety and Sealing for Demanding EnvironmentsNewsJun.24,2025
-
XIANGFAN Rubber Tape: Reliable Solutions for Every Electrical ChallengeNewsJun.24,2025
-
XIANGFAN Electrical & Industrial Tape: Powering Reliability Across IndustriesNewsJun.24,2025
-
XIANGFAN Electrical & Industrial Tape: Excellence in Every ApplicationNewsJun.24,2025
