How to Use Amalgamating Tape A Comprehensive Guide
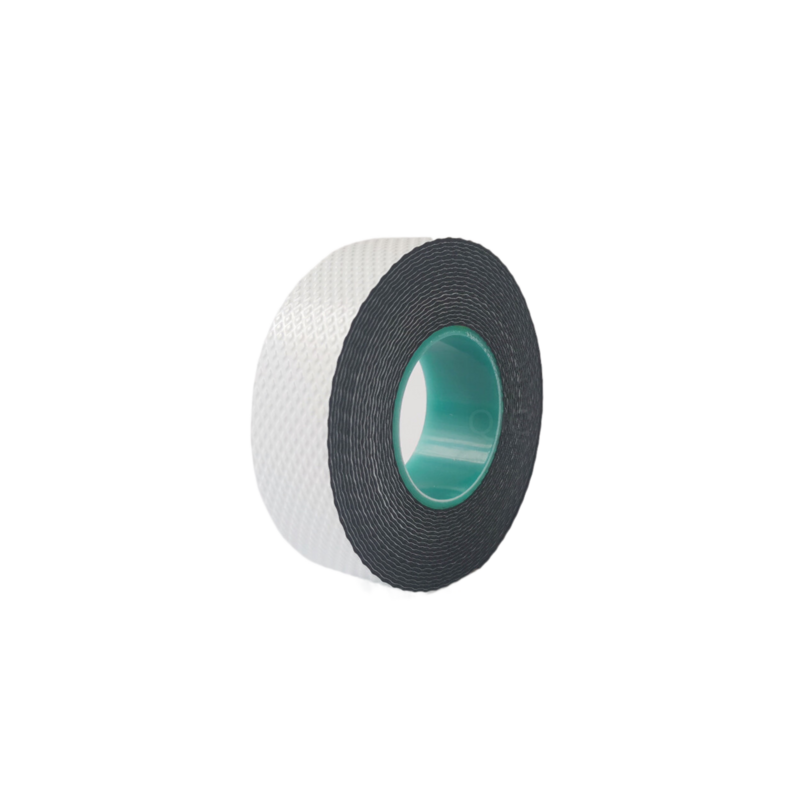
Amalgamating tape, also known as self-fusing tape or insulating tape, is a versatile and essential tool used in various industries, including electrical, plumbing, and automotive applications. Unlike traditional adhesive tapes, amalgamating tape sticks to itself without any glue, allowing for a strong, waterproof, and insulating bond. Understanding how to use this tape effectively can help ensure that your repairs and projects are reliable and long-lasting.
What is Amalgamating Tape?
Amalgamating tape is typically made from a rubber-based material that provides excellent insulation and protection against moisture. It is often used to insulate electrical wires, seal joints, or create a protective layer over devices exposed to the elements. Its self-fusing property means that when you wrap it around an object, the tape molecules fuse together, creating a solid, secure bond. This feature makes it an ideal option for applications where traditional adhesive tapes may fail.
How to Use Amalgamating Tape
1. Preparation
Before applying amalgamating tape, ensure that the surfaces you will be working with are clean, dry, and free of any debris. This preparation is essential for achieving the best possible bond. If you are using it on electrical wires, strip the wires back to a clean, solid section if necessary.
To begin wrapping, hold the tape so the sticky side faces the surface you are working with. Start at one end of the area you want to cover, ensuring that you have a bit of overlap with the preceding layer for a solid seal. As you wrap, stretch the tape slightly to activate the self-fusing capability. The more you stretch, the better the bond, but be careful not to overstretch, as this can lead to tearing.
how to use amalgamating tape

3. Layering
When covering larger areas or joints, apply the tape in overlapping layers, making sure to cover the edge of the previous layer. Depending on the application, aim for at least 50% overlap to ensure maximum insulation and protection.
4. Finishing
Once you reach the end of the area you are covering, cut the tape using scissors or a sharp knife. Press the end of the tape against the surface to secure it in place. Unlike adhesive tapes, there’s no need for additional sealants or adhesives, as the tape will fuse to itself seamlessly.
5. Testing
After application, it’s good practice to test the integrity of your work. For electrical applications, use a multimeter to check for any potential leakage or faults. In plumbing or automotive uses, ensure that there are no signs of moisture or pressure loss.
Conclusion
Amalgamating tape is an excellent choice for a vast range of projects, thanks to its unique self-fusing capabilities and insulating properties. By following the steps outlined above, you can effectively use this tape to create strong, waterproof seals and insulate electrical connections, making your repairs and projects not only reliable but also efficient. Always prioritize safety and follow best practices in your installations to enjoy the full benefits that amalgamating tape has to offer.
-
XIANGFAN Rubber Tape-Ultimate Solutions for All Your Insulation NeedsNewsJun.24,2025
-
XIANGFAN Rubber Tape-Protection for Industrial and Residential ApplicationsNewsJun.24,2025
-
XIANGFAN Rubber Tape: Superior Safety and Sealing for Demanding EnvironmentsNewsJun.24,2025
-
XIANGFAN Rubber Tape: Reliable Solutions for Every Electrical ChallengeNewsJun.24,2025
-
XIANGFAN Electrical & Industrial Tape: Powering Reliability Across IndustriesNewsJun.24,2025
-
XIANGFAN Electrical & Industrial Tape: Excellence in Every ApplicationNewsJun.24,2025
