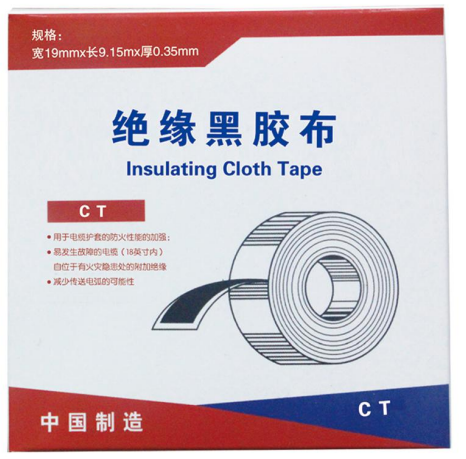
How to Use Amalgamating Tape A Comprehensive Guide
Amalgamating tape, often referred to as self-fusing or insulating tape, is a fantastic tool for electrical and plumbing applications, as well as various DIY projects. Unlike traditional tapes, amalgamating tape does not have any adhesive; instead, it relies on the unique property of fusing to itself when stretched and wrapped around a surface. This article will provide a step-by-step guide on how to effectively use amalgamating tape, ensuring you achieve optimal results for your projects.
Step 1 Gather Your Materials
Before you begin, gather all necessary materials. You will need amalgamating tape, scissors or a utility knife, and the object you wish to wrap or insulate. It's important to have a clean working area, as cleanliness will ensure the tape adheres properly and effectively.
Step 2 Prepare the Surface
Ensure the surface you plan to wrap is clean, dry, and free from dust, grease, or any other contaminants. If the surface is dirty or oily, the tape may not adhere effectively during the fusing process. A quick wipe down with a cloth and a suitable cleaner should suffice.
Step 3 Cut the Required Length
Measure out the length of tape you’ll need. It's a good rule of thumb to cut a piece that is at least twice the length of the area you wish to cover. Remember, amalgamating tape fuses to itself, so overlapping is a crucial part of ensuring a strong and durable wrap.
Step 4 Start Wrapping
amalgamating tape how to use

Begin by securing one end of the tape to the surface and wrapping it tightly around the object. As you wrap, stretch the tape slightly to enhance the fusing process. The tape should be pulled taut, as this allows it to mold around the shape of the object, providing a solid seal. Overlap each pass of tape by about half its width. This overlap not only strengthens the bond but also ensures complete coverage.
Step 5 Finish the Wrap
Once you reach the desired area, cut the tape with scissors. Tuck the end of the tape under the previous layer to secure it in place. This prevents the end from lifting or peeling back over time. If additional layers are needed, continue wrapping until you achieve the desired thickness or coverage.
Step 6 Allow Time for Fusing
The fusing process can take anywhere from several minutes to a few hours, depending on environmental conditions such as temperature and humidity. It’s advisable to allow the tape to cure uninterrupted for the best results. Remember that the tape is self-fusing and will not require additional adhesive; patience during this step is essential.
Step 7 Inspect Your Work
Once the fusing has completed, inspect your work. Ensure that the tape has adhered thoroughly and that there are no gaps or uneven spots. A well-done application should feel solid to the touch and should cover the area effectively.
Conclusion
Using amalgamating tape can seem daunting at first, but with the right preparation and technique, it can become a valuable addition to your toolkit. This versatile tape can be used for insulating electrical wires, repairing hoses, and even sealing leaks. Always remember the key features of this tape—its self-fusing ability and the need for a clean, dry surface for optimal performance. With these guidelines in mind, you’ll be able to use amalgamating tape like a pro, tackling various tasks with confidence and precision.
-
XIANGFAN Rubber Tape-Ultimate Solutions for All Your Insulation NeedsNewsJun.24,2025
-
XIANGFAN Rubber Tape-Protection for Industrial and Residential ApplicationsNewsJun.24,2025
-
XIANGFAN Rubber Tape: Superior Safety and Sealing for Demanding EnvironmentsNewsJun.24,2025
-
XIANGFAN Rubber Tape: Reliable Solutions for Every Electrical ChallengeNewsJun.24,2025
-
XIANGFAN Electrical & Industrial Tape: Powering Reliability Across IndustriesNewsJun.24,2025
-
XIANGFAN Electrical & Industrial Tape: Excellence in Every ApplicationNewsJun.24,2025
