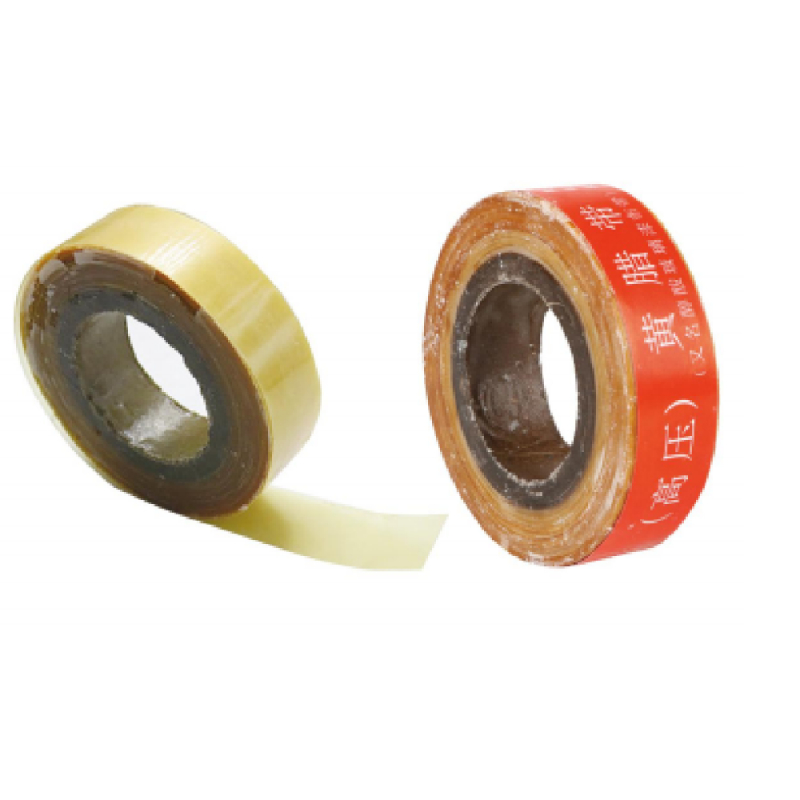
How to Use Self-Amalgamating Repair Tape A Comprehensive Guide
Self-amalgamating repair tape, also known as self-fusing or silicone tape, is a versatile and effective solution for a variety of repair needs. It is a non-sticky, rubberized tape that bonds to itself upon application, creating a waterproof and airtight seal. This makes it ideal for quick fixes in plumbing, electrical work, automotive repairs, and even outdoor applications. Here’s a detailed guide on how to properly use self-amalgamating repair tape.
What You Need
Before you start, gather the necessary materials 1. Self-amalgamating repair tape 2. Scissors or a utility knife 3. Clean, dry cloth (for surface preparation)
Step-by-Step Instructions
1. Prepare the Surface Begin by ensuring the surface you're going to apply the tape to is clean and dry. Remove any dirt, grease, or moisture, as these can inhibit the adhesion of the tape. Use a clean, dry cloth to wipe down the area thoroughly.
2. Measure the Length Measure the length of tape you'll need. It’s better to cut a slightly longer piece than you think you'll require to ensure complete coverage. A common recommendation is to wrap the tape at least 50% over itself for optimal bonding.
3. Cut the Tape Using scissors or a utility knife, cut the tape to your desired length. Be cautious while cutting to avoid injuries.
how to use self amalgamating repair tape

4. Start Wrapping Begin wrapping the tape around the area that needs repair, starting at one end. Ensure that you stretch the tape as you wrap it around the object; this elongation helps it bond better with itself. Overlap the tape by at least half its width for a secure seal. When using self-amalgamating tape, remember it does not stick to the surface but fuses to itself.
5. Apply Additional Layers (if necessary) For larger damages or leaks, you may need to apply multiple layers. Be sure to continue overlapping each layer by 50% until you achieve the desired thickness and seal.
6. Finish Off Once you've completed wrapping, press the final end of the tape firmly onto itself to ensure it seals properly. Depending on the environment, the tape will typically take about 24 hours to fully cure and achieve its maximum strength.
Tips for Best Results
- Temperature Self-amalgamating tape performs best in temperatures above freezing. Avoid using it in extremely cold conditions as this may hinder the fusion process. - Storage Keep the tape in a cool, dry place to maintain its quality. Check the expiration date, as old tape may not perform effectively. - Use Cases This tape is highly versatile. It can be used for leaky hoses, electrical insulation, sealing pipes, repairing wires, wrapping tools, and many other applications.
Conclusion
Self-amalgamating repair tape is an invaluable tool for anyone who needs quick and reliable repairs. With its ease of use and strong sealing properties, it can save the day in various situations. By following the guidelines above, you can effectively harness the power of this tape for a multitude of repairs, ensuring that your projects are completed safely and efficiently. Whether you're a DIY enthusiast or a professional, having self-amalgamating repair tape on hand is always a smart choice.
-
XIANGFAN Rubber Tape-Ultimate Solutions for All Your Insulation NeedsNewsJun.24,2025
-
XIANGFAN Rubber Tape-Protection for Industrial and Residential ApplicationsNewsJun.24,2025
-
XIANGFAN Rubber Tape: Superior Safety and Sealing for Demanding EnvironmentsNewsJun.24,2025
-
XIANGFAN Rubber Tape: Reliable Solutions for Every Electrical ChallengeNewsJun.24,2025
-
XIANGFAN Electrical & Industrial Tape: Powering Reliability Across IndustriesNewsJun.24,2025
-
XIANGFAN Electrical & Industrial Tape: Excellence in Every ApplicationNewsJun.24,2025
