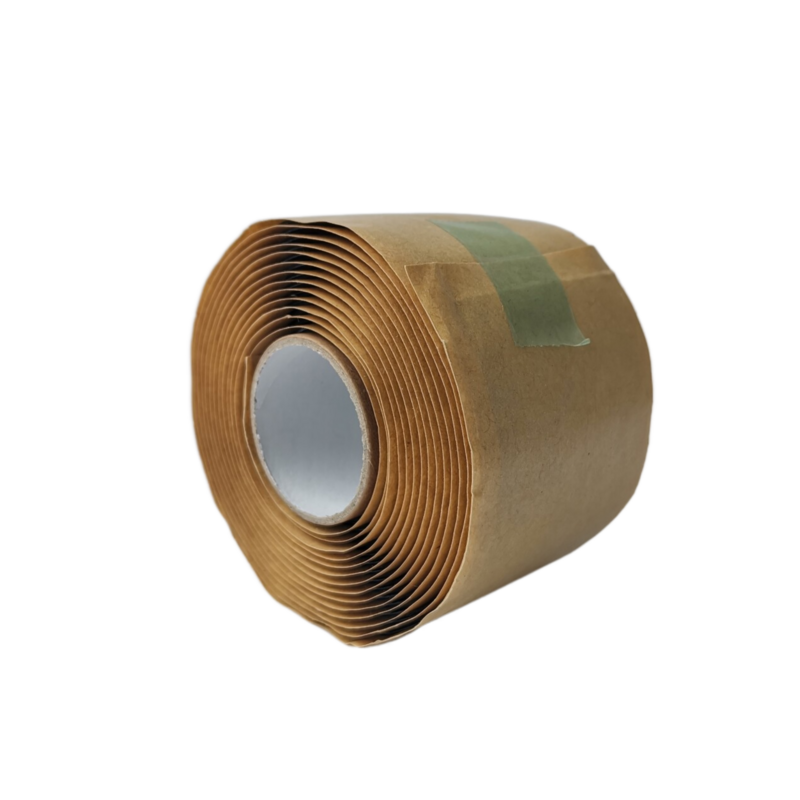
How to Use Self-Amalgamating Repair Tape
Self-amalgamating repair tape is an incredibly versatile tool that can be used for a variety of repair tasks. This unique form of tape, which fuses to itself without the need for adhesives, offers an effective and strong solution for leaks, electrical insulation, and even emergency repairs. Here’s a step-by-step guide on how to properly use self-amalgamating repair tape to maximize its benefits.
Step 1 Prepare the Surface
Before using self-amalgamating repair tape, it is essential to prepare the surface to ensure optimal adhesion. Clean the area thoroughly where the tape will be applied. Remove any dirt, grease, or moisture. If you're sealing a leak, make sure that the surface is dry and free of any debris.
Step 2 Cut the Tape
Self-amalgamating tape typically comes in rolls, and you can cut the length you need. It’s advisable to use enough tape to wrap completely around the repair area, allowing for some overlap. A length of 6-12 inches is usually sufficient for most repairs, but the specific dimensions will depend on your application.
Step 3 Stretch and Apply
how to use self amalgamating repair tape

When applying self-amalgamating tape, stretch it slightly as you wrap it around the target area. This ensures a tight fit that enhances the tape's sealing capabilities. Start at one end, overlapping the previous layer by about half the width of the tape. Continue wrapping until you've covered the entire area of interest, ensuring to maintain tension throughout the process.
Step 4 Seal the Ends
Once you’ve wrapped the tape, be sure to seal the ends properly. Overlapping the last layer with the edge of the tape will help create a water-tight and air-tight seal. Press the edges down firmly to remove any bubbles and ensure a good bond.
Step 5 Allow Time to Amalgamate
After application, it’s important to allow the tape some time to amalgamate fully. This can take about 24 hours. During this period, avoid exposing the area to water or stress to ensure the tape sets correctly.
Conclusion
Using self-amalgamating repair tape can save you from countless repairs and inconveniences. Whether you're fixing plumbing, insulating electrical wires, or making quick repairs on machinery, this tape proves to be an invaluable addition to your toolkit. Its ease of use, flexibility, and strong sealing properties make it a must-have for both professionals and DIY enthusiasts alike. By following these steps, you can ensure a successful and lasting repair every time.
-
XIANGFAN Rubber Tape-Ultimate Solutions for All Your Insulation NeedsNewsJun.24,2025
-
XIANGFAN Rubber Tape-Protection for Industrial and Residential ApplicationsNewsJun.24,2025
-
XIANGFAN Rubber Tape: Superior Safety and Sealing for Demanding EnvironmentsNewsJun.24,2025
-
XIANGFAN Rubber Tape: Reliable Solutions for Every Electrical ChallengeNewsJun.24,2025
-
XIANGFAN Electrical & Industrial Tape: Powering Reliability Across IndustriesNewsJun.24,2025
-
XIANGFAN Electrical & Industrial Tape: Excellence in Every ApplicationNewsJun.24,2025
