How to Use Amalgamating Tape
Amalgamating tape, often referred to as self-fusing or self-amalgamating tape, is a versatile and effective solution for a variety of electrical and plumbing applications. Its unique properties, including the ability to bond to itself without the need for adhesives, make it an ideal choice for tasks that require a strong, waterproof, and insulating seal. In this article, we will discuss the advantages of amalgamating tape, its uses, and step-by-step instructions on how to effectively use it.
Advantages of Amalgamating Tape
1. Self-Fusing Properties Amalgamating tape bonds to itself when wrapped tightly, creating a strong chemical bond. This is particularly advantageous because there is no adhesive to leave residue or degrade over time.
2. Water Resistance The tape forms a waterproof seal, which makes it ideal for outdoor and underwater applications, such as protecting wiring in wet conditions.
3. Electrical Insulation It offers excellent electrical insulation properties, making it perfect for electrical repairs and protecting connections.
4. Heat Resistance Depending on the type, amalgamating tape can withstand high temperatures, adding to its versatility for various industrial and home applications.
5. Flexibility The tape can conform to different shapes and sizes, ensuring a snug fit around pipes, cables, and other irregular surfaces.
Uses of Amalgamating Tape
Amalgamating tape can be utilized in several ways, including
- Wrapping electrical wires to prevent short circuits. - Repairing hoses and pipes to stop leaks. - Sealing joints in plumbing systems. - Providing extra insulation for high-voltage electrical connections. - Protecting outdoor cables from moisture and physical damage.
How to Use Amalgamating Tape
how to use amalgamating tape

Step 1 Prepare the Surface
Before applying amalgamating tape, ensure that the surface is clean and dry. Remove any dirt, grease, or debris that might prevent proper bonding. If you're working with electrical wires, make sure they are powered off to avoid any accidents.
Step 2 Start Wrapping
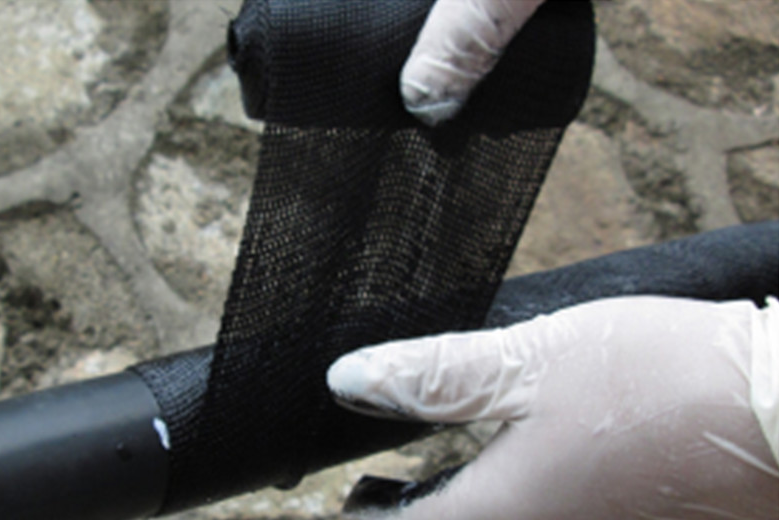
Begin by unrolling the tape and positioning it at one end of the area you wish to cover. Hold the tape at a 45-degree angle as you begin to wrap it around the object. Make sure to overlap the tape with each twist, typically by about half its width. This overlap is essential for a good seal and the self-fusing process to work effectively.
Step 3 Apply Tension
As you wrap, apply some tension but avoid stretching too much, as this can compromise the tape's integrity. The idea is to ensure that the tape tightly encapsulates the object but is not so tight that it rips.
Step 4 Complete the Wrap
Continue wrapping until you’ve covered the entire area that requires protection or repair. Once finished, cut the tape with scissors. Because of its self-fusing nature, the end does not require extra adhesive or securement; it will bond to the last wrap you made.
Step 5 Allow to Fuse
Finally, let the tape sit undisturbed for a few hours to ensure the bonding process completes effectively. After this, your application should be strong, waterproof, and durable.
In conclusion, amalgamating tape is a highly useful tool for both professionals and DIY enthusiasts. By following these simple steps, you can achieve lasting repairs and prevent future problems in various applications.
-
XIANGFAN Rubber Tape-Ultimate Solutions for All Your Insulation NeedsNewsJun.24,2025
-
XIANGFAN Rubber Tape-Protection for Industrial and Residential ApplicationsNewsJun.24,2025
-
XIANGFAN Rubber Tape: Superior Safety and Sealing for Demanding EnvironmentsNewsJun.24,2025
-
XIANGFAN Rubber Tape: Reliable Solutions for Every Electrical ChallengeNewsJun.24,2025
-
XIANGFAN Electrical & Industrial Tape: Powering Reliability Across IndustriesNewsJun.24,2025
-
XIANGFAN Electrical & Industrial Tape: Excellence in Every ApplicationNewsJun.24,2025
