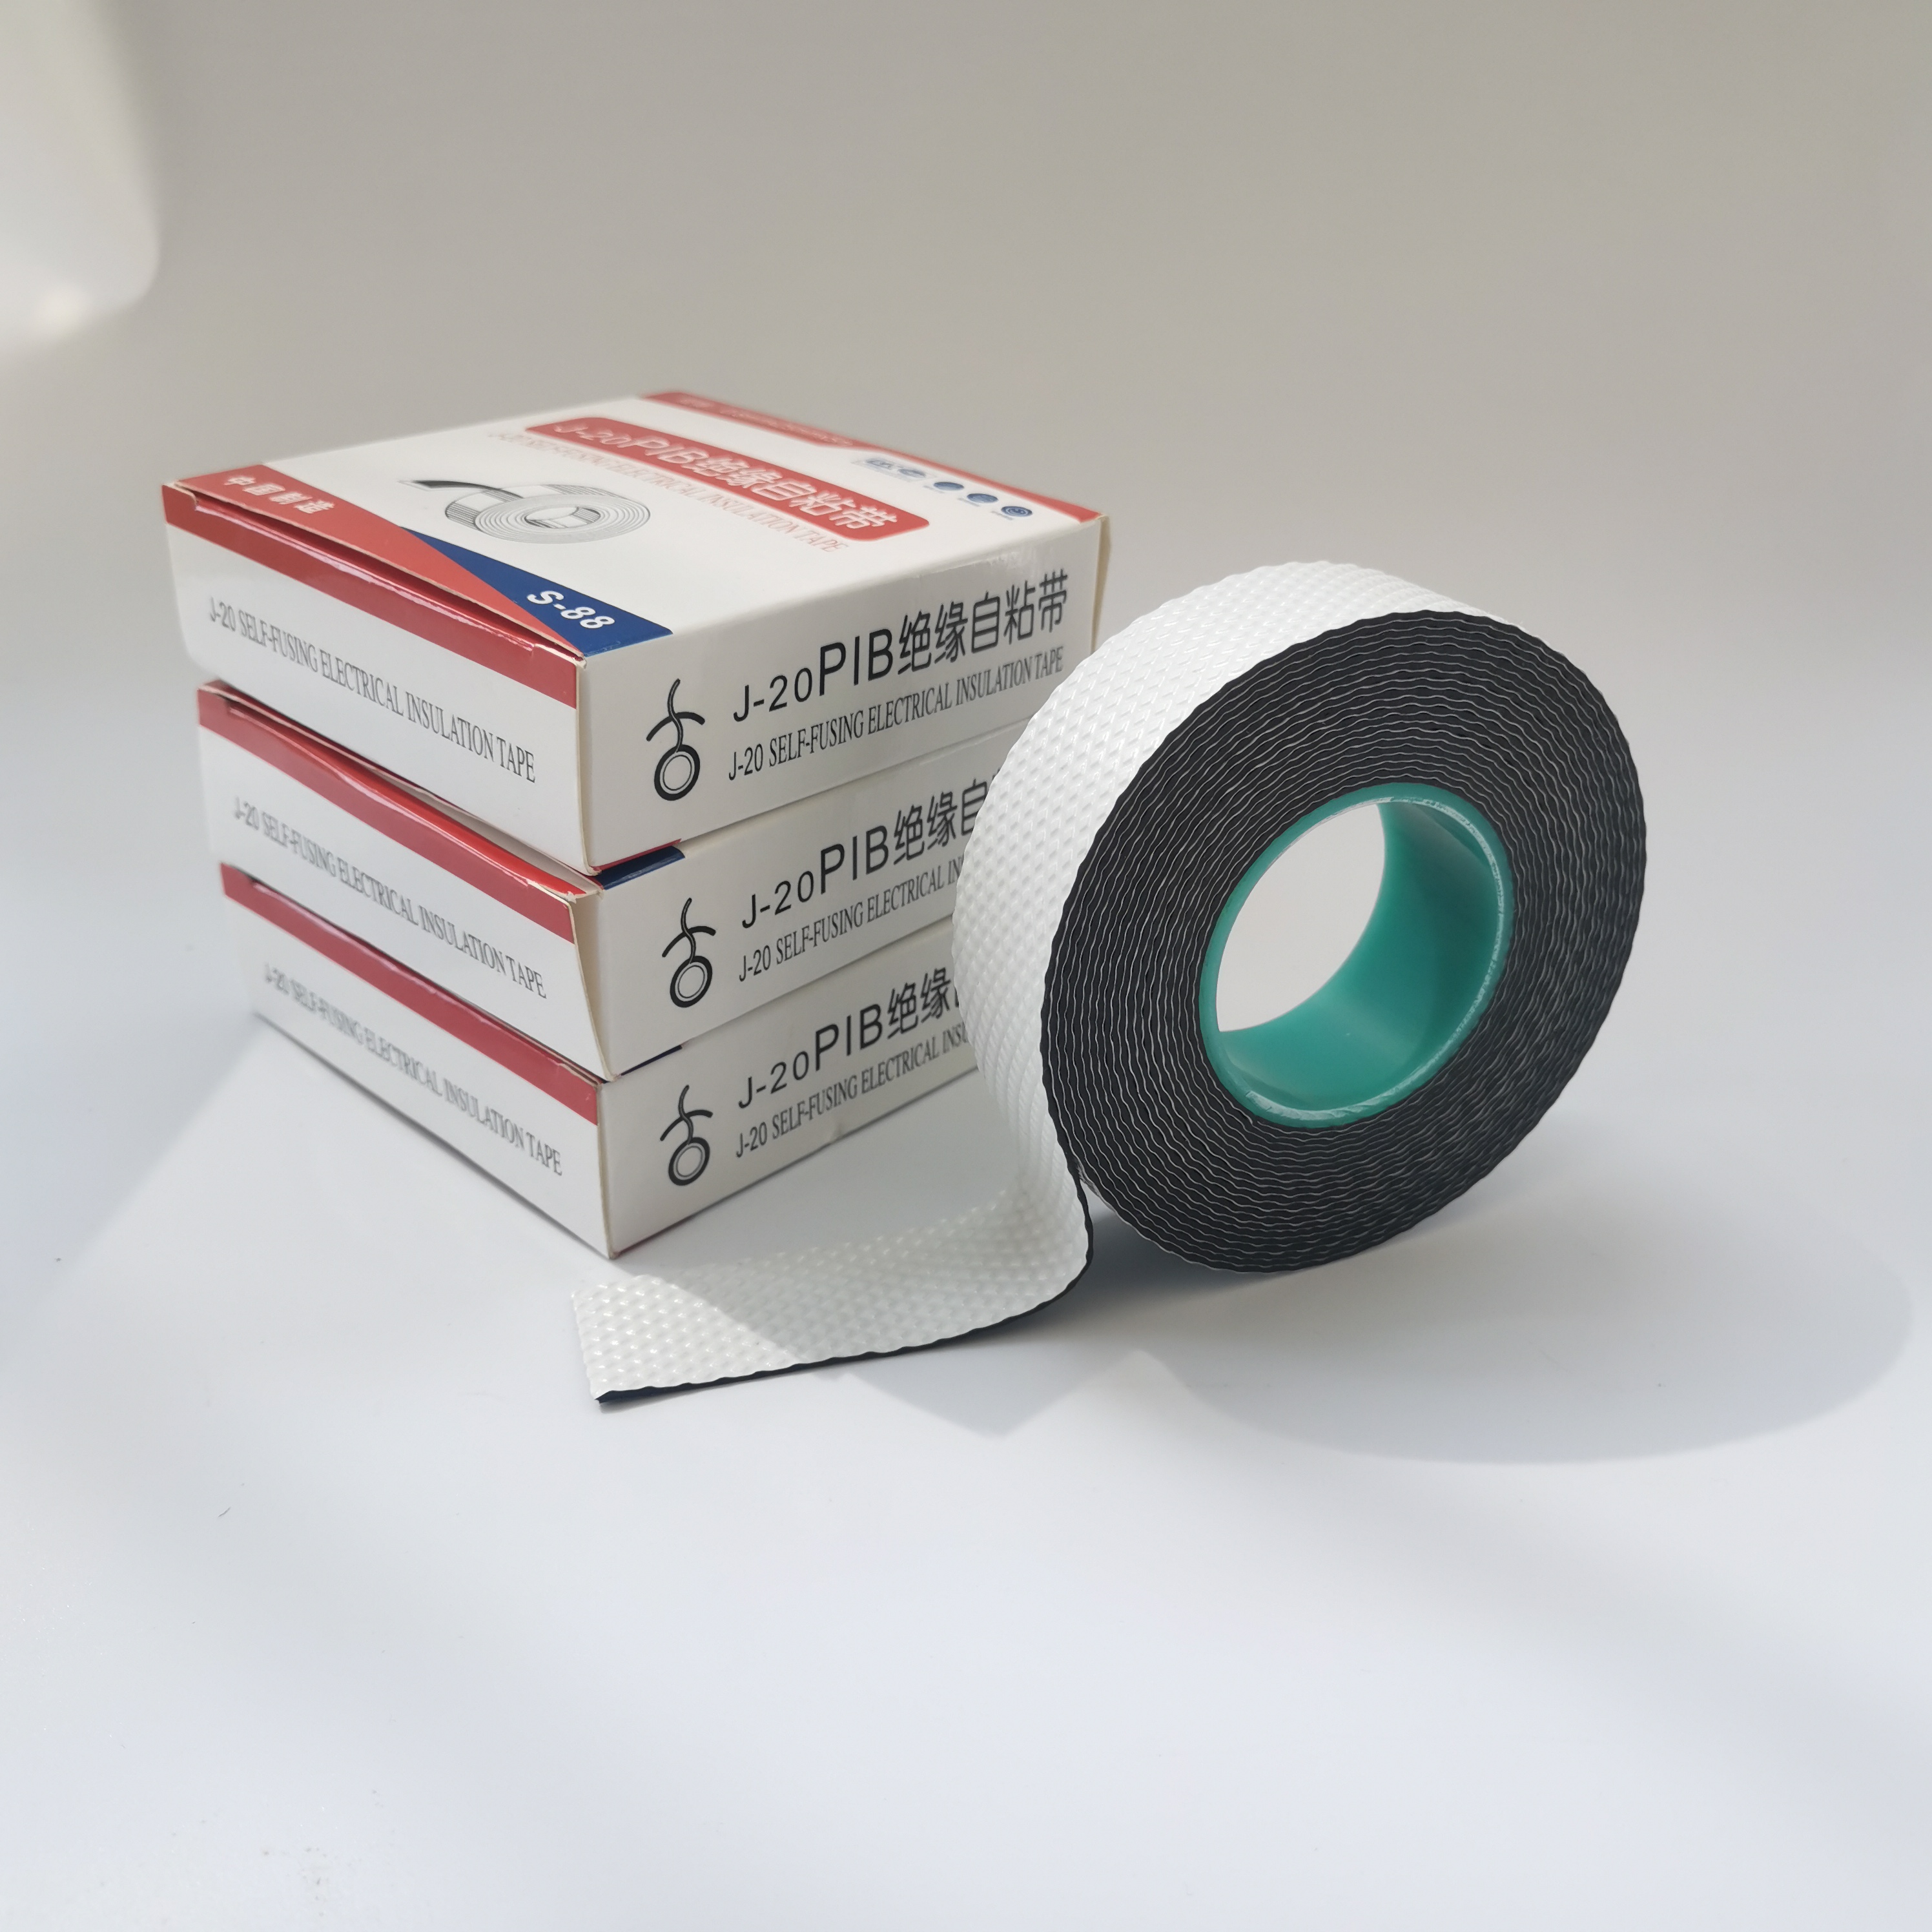
How to Use Amalgamating Tape A Comprehensive Guide
Amalgamating tape, often referred to as self-amalgamating tape or rubber tape, is a versatile tool that finds applications across various industries, including electrical, plumbing, and automotive. Its primary feature is the ability to fuse to itself when stretched, creating a waterproof and insulating layer that is extremely resilient. This article will guide you through the effective use of amalgamating tape, ensuring you maximize its potential.
What is Amalgamating Tape?
Amalgamating tape is made from a rubber material that can stick to itself without any adhesive. This unique characteristic allows it to be wrapped around pipes, wires, or other surfaces securely, forming a tight seal. It's especially valued for its excellent insulation properties, resistance to heat, and ability to withstand harsh weather conditions.
Preparing for Application
Before using amalgamating tape, it's vital to prepare the surface you intend to cover. Clean the area thoroughly to remove any dirt, dust, or moisture, as these can compromise the tape’s adhesion. A clean, dry surface ensures a better seal and enhances the tape’s longevity.
Step-by-Step Application
1. Cut a Length of Tape Begin by cutting an appropriate length of amalgamating tape. Depending on the size of the area you need to cover, a length of 3 to 10 feet may suffice. Always cut more than you think you need, as it’s easier to trim excess than to start over.
2. Start Wrapping Begin at one end of the surface. Hold the tape at a slight angle and begin to wrap it around the object, ensuring the tape overlaps itself by about half its width. This is crucial as it ensures effective sealing and insulation.
how to use amalgamating tape

3. Stretch the Tape As you wrap, stretch the tape slightly. This stretching activates its self-amalgamating properties, allowing it to bond more effectively to itself. Avoid pulling too hard; a gentle stretch is sufficient to achieve a tight seal without tearing the tape.
4. Continue Wrapping Work your way along the surface, maintaining the same overlap and stretch. If you’re covering a joint or a complex shape, continue wrapping until the entire area is sufficiently covered, ensuring that each wrap adheres to the previous one.
5. Finish and Press Down Once you reach the end of the area to be covered, cut the tape and press the end down firmly against the wrap. Give the entire wrapped area a final press to ensure maximum adhesion.
Curing Time
The beauty of amalgamating tape lies in its quick curing process. After application, it typically melds itself within a few hours, but for optimal results, leaving it to cure for 24 hours is recommended. This allows the tape to achieve its maximum strength and insulation capabilities.
Applications of Amalgamating Tape
Amalgamating tape can be used in numerous situations, including but not limited to - Electrical insulation for wires and connectors - Waterproofing joints and pipe fittings - Repairing hoses and cables in automotive applications - Providing extra grip on handles and tools
Conclusion
Amalgamating tape is a valuable asset for both professional tradespeople and DIY enthusiasts. By following the preparation and application steps outlined above, you can ensure a reliable and effective seal for various tasks. With its durability and versatility, amalgamating tape is undoubtedly a tool worth adding to your toolkit.
-
XIANGFAN Rubber Tape-Ultimate Solutions for All Your Insulation NeedsNewsJun.24,2025
-
XIANGFAN Rubber Tape-Protection for Industrial and Residential ApplicationsNewsJun.24,2025
-
XIANGFAN Rubber Tape: Superior Safety and Sealing for Demanding EnvironmentsNewsJun.24,2025
-
XIANGFAN Rubber Tape: Reliable Solutions for Every Electrical ChallengeNewsJun.24,2025
-
XIANGFAN Electrical & Industrial Tape: Powering Reliability Across IndustriesNewsJun.24,2025
-
XIANGFAN Electrical & Industrial Tape: Excellence in Every ApplicationNewsJun.24,2025
