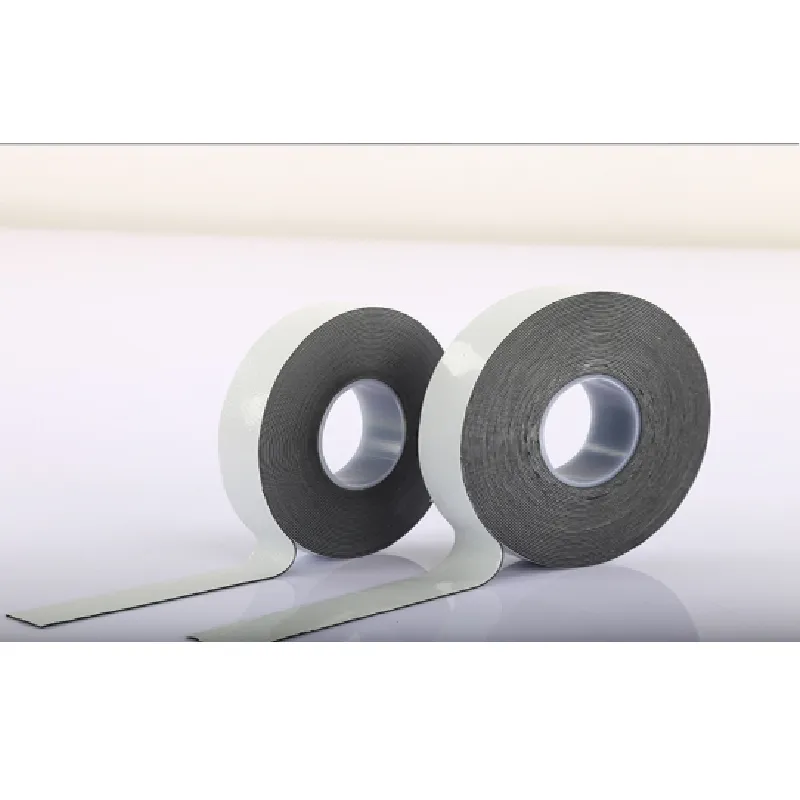
How to Use Amalgamating Tape A Comprehensive Guide
Amalgamating tape, often referred to as self-amalgamating tape, is a versatile and innovative solution for insulating, protecting, and repairing exposed wires and equipment. Unlike traditional tapes, amalgamating tape sticks to itself rather than adhering to other surfaces. This key feature makes it an essential tool in various applications, from electrical repairs to plumbing and beyond. In this article, we will explore how to effectively use amalgamating tape for different purposes, ensuring you achieve the best results.
Understanding Amalgamating Tape
Before diving into its applications, it is essential to understand what amalgamating tape is. Typically composed of a rubber or silicone base, amalgamating tape is waterproof, UV-resistant, and durable under harsh environmental conditions. The tape becomes tacky when stretched, allowing it to bond to itself without leaving a sticky residue. This property makes it ideal for various tasks where durability and insulation are paramount.
Application Areas
1. Electrical Insulation Amalgamating tape is commonly used in electrical work for insulating exposed wires. When wrapping a wire, begin at one end and stretch the tape while wrapping it around the wire in a spiral motion. Ensure that each layer overlaps the previous one by about half its width. This overlap creates a tight seal that effectively prevents moisture and dust from compromising the wire.
2. Sealing If you have pipes or hoses that need sealing, amalgamating tape can provide a waterproof barrier. Clean the area around the leak or break, ensuring it is free from dirt and moisture. Begin wrapping the tape tightly around the area, ensuring that there is adequate overlap. The self-bonding nature of the tape will create a strong seal that can withstand pressure.
3. Protection of Equipment For protecting tools, fittings, and connectors, amalgamating tape is an excellent choice. When wrapping equipment, start from one end and work your way to the other, applying tension to the tape for a secure fit. This layer of protection guards against abrasions and environmental damage, extending the lifespan of your tools.
how to use amalgamating tape

Step-by-Step Guide to Using Amalgamating Tape
1. Preparation Ensure that the surfaces to which the tape will be applied are clean and dry. For electrical applications, turn off power supply to avoid any hazards.
2. Selection Choose the appropriate width of amalgamating tape for your project. Wider tape may be more suitable for larger items or bulkier wires.
3. Application - For Wires Start wrapping at one end of the exposed wire, maintaining a stretch while overlapping each wrap. Continue until you cover the required area, ensuring that there are no gaps. - For Sealing Pipes Clean the area thoroughly. Begin wrapping at the break or joint, applying firm pressure and stretching the tape as you wrap.
4. Finish Once adequately wrapped, trim the tape, leaving a small excess to ensure a tight seal. Press the final piece against the previous layers to ensure a strong bond.
5. Curing Time Although amalgamating tape adheres instantly, it is advisable to avoid disturbing the application for a short period to allow it to set properly.
Conclusion
Amalgamating tape is a powerful and efficient solution for various insulation and sealing needs. Its unique properties make it a reliable choice for both professionals and DIY enthusiasts. Whether you are repairing electrical wires, sealing pipes, or protecting equipment from environmental damage, understanding how to properly use amalgamating tape is essential for achieving lasting results. Invest in this handy tool, and you will find it invaluable for numerous projects.
-
XIANGFAN Rubber Tape-Ultimate Solutions for All Your Insulation NeedsNewsJun.24,2025
-
XIANGFAN Rubber Tape-Protection for Industrial and Residential ApplicationsNewsJun.24,2025
-
XIANGFAN Rubber Tape: Superior Safety and Sealing for Demanding EnvironmentsNewsJun.24,2025
-
XIANGFAN Rubber Tape: Reliable Solutions for Every Electrical ChallengeNewsJun.24,2025
-
XIANGFAN Electrical & Industrial Tape: Powering Reliability Across IndustriesNewsJun.24,2025
-
XIANGFAN Electrical & Industrial Tape: Excellence in Every ApplicationNewsJun.24,2025
