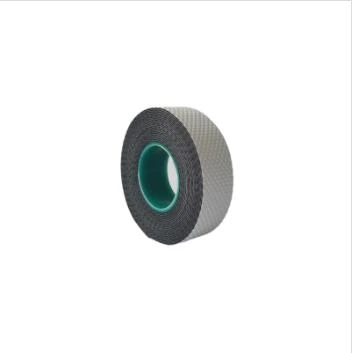
How to Use Amalgamating Tape A Comprehensive Guide
Amalgamating tape is a versatile tool that is essential for various electrical and plumbing applications. This self-fusing tape is made from a special polymer material that bonds to itself when stretched and wrapped, creating an airtight and watertight seal. It's particularly useful for insulation, repairs, and even as a temporary solution for leaks. In this article, we’ll explore how to effectively use amalgamating tape, ensuring you achieve the best results for your projects.
Understanding Amalgamating Tape
Before diving into the application process, it’s essential to understand what amalgamating tape is. Unlike traditional adhesive tapes that rely on a sticky surface, amalgamating tape creates a strong bond through pressure and adhesion to itself. This characteristic makes it highly effective in handling various environmental challenges, including moisture and extreme temperatures.
Preparation What You Need
To get started, gather the necessary materials. You will need
1. Amalgamating tape 2. A clean cloth or sponge 3. A pair of scissors (if the tape needs to be cut) 4. Optional A heat gun or hair dryer (to enhance the adhesion)
Steps for Using Amalgamating Tape
1. Surface Preparation Begin by cleaning the surface to which the tape will be applied. Use a clean cloth or sponge to remove any dirt, grease, or moisture. For optimal results, ensure the surface is completely dry before proceeding.
2. Cut Your Tape If you need a specific length of tape, measure it out and cut accordingly. Remember, it's better to have a little extra tape than to fall short.
how to use amalgamating tape

3. Initial Wrap Starting at one end of the area you wish to seal, place the tape on the surface and ensure it sticks slightly to prevent it from unraveling as you apply more wraps.
4. Stretch and Wrap The key to using amalgamating tape effectively is to stretch it as you wrap it. Pull the tape to about 50% of its length before wrapping it around the object or surface. Overlap each layer by about 50%, ensuring a complete and tight seal. This self-fusing mechanism creates a strong bond and enhances the tape's protective properties.
5. Work Your Way Along Continue wrapping the tape around the area, ensuring constant tension and overlap until you cover the necessary length. Make sure to smooth down each layer as you go to eliminate any air pockets which could weaken the seal.
6. Finalizing the Seal Once you've reached the end of the area, press down securely to ensure the tape adheres well. There’s no need to cut the tape cleanly; simply rupture it by pulling it away sharply, leaving the end close to the last wrap for better bonding.
7. Curing Period While amalgamating tape can bond instantly, it reaches its full strength after a curing period. It’s advisable to leave it undisturbed for at least 24 hours for the best results.
Applications of Amalgamating Tape
Amalgamating tape is highly versatile, making it suitable for various applications, including
- Electrical Insulation Protect electrical connections and wires from moisture and environmental stressors. - Plumbing Repairs Temporarily seal leaks in pipes or hoses until a permanent solution can be applied. - Automotive Repairs Use it to wrap wires or insulate components under the hood of a vehicle.
Conclusion
Using amalgamating tape is straightforward, but it requires attention to detail to ensure an effective seal. By following the steps outlined above, you can harness the power of this unique tape for a multitude of applications. Remember always to prepare the surface well and apply the tape with consistent tension to achieve lasting results. Whether you’re a DIY enthusiast or a professional, amalgamating tape is an invaluable tool in your toolkit.
-
XIANGFAN Rubber Tape-Ultimate Solutions for All Your Insulation NeedsNewsJun.24,2025
-
XIANGFAN Rubber Tape-Protection for Industrial and Residential ApplicationsNewsJun.24,2025
-
XIANGFAN Rubber Tape: Superior Safety and Sealing for Demanding EnvironmentsNewsJun.24,2025
-
XIANGFAN Rubber Tape: Reliable Solutions for Every Electrical ChallengeNewsJun.24,2025
-
XIANGFAN Electrical & Industrial Tape: Powering Reliability Across IndustriesNewsJun.24,2025
-
XIANGFAN Electrical & Industrial Tape: Excellence in Every ApplicationNewsJun.24,2025
