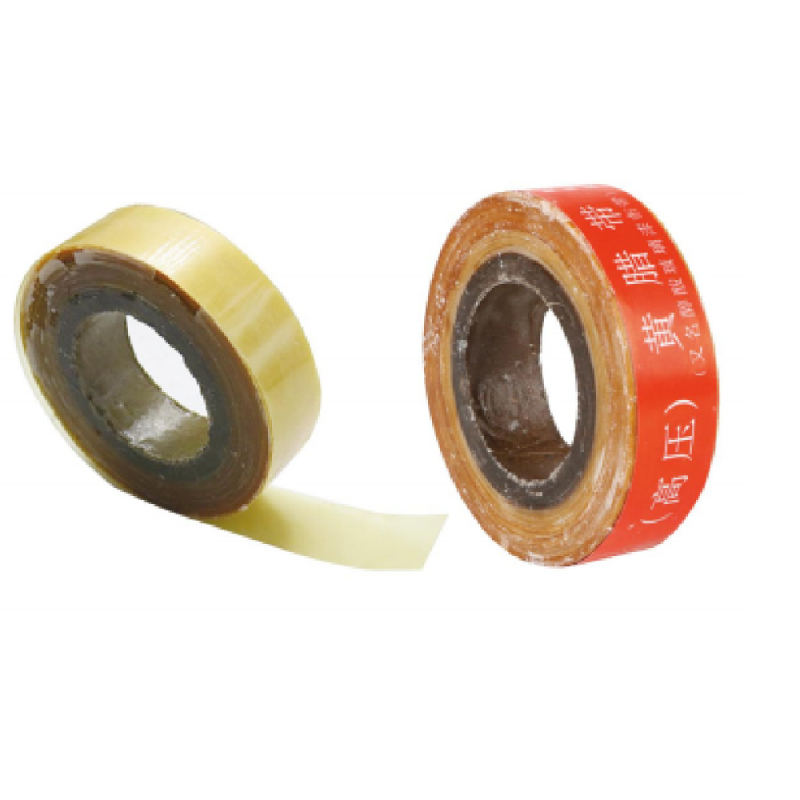
How to Use Amalgamating Tape A Comprehensive Guide
Amalgamating tape, often referred to as self-amalgamating tape, is a versatile and practical tool that is widely used in various applications ranging from electrical insulation to plumbing repairs. This unique tape is known for its ability to bond itself when wrapped around objects, creating a tight seal without the need for adhesive. In this article, we will explore the characteristics of amalgamating tape, its diverse uses, and step-by-step instructions on how to effectively use it.
Characteristics of Amalgamating Tape
Amalgamating tape is usually made from a rubber compound that has excellent insulating properties. Unlike standard adhesive tapes, amalgamating tape bonds to itself rather than to the surface of the object it’s applied to. This feature makes it particularly useful for sealing, insulating, and protecting various materials. The tape is often resistant to UV light, moisture, and various chemicals, making it suitable for both indoor and outdoor usage.
This tape is available in different widths and thicknesses, which allows for a broad range of applications. The most common colors are black and white, with black tape being the most popular for electrical work due to its non-reflective properties.
Applications of Amalgamating Tape
1. Electrical Insulation One of the primary uses of amalgamating tape is for insulating electrical wires and connections. It provides a superior seal compared to regular electrical tape, preventing moisture ingress and protecting against corrosion.
2. Plumbing Repairs Amalgamating tape can be used to seal leaks in plumbing fittings and pipes. Its waterproof nature makes it an excellent choice for temporary fixes until a more permanent solution can be made.
3. Sealing Connections Whether it's for hoses, wires, or other components, amalgamating tape can create airtight and watertight seals.
4. Protecting Objects The tape is also effective in providing an extra layer of protection for tools and equipment against abrasion and environmental factors.
how to use amalgamating tape

How to Use Amalgamating Tape
Effectively using amalgamating tape requires some basic steps that can help ensure a secure and long-lasting application
1. Surface Preparation Ensure that the surface is clean, dry, and free from any dirt, grease, or debris. This will help the tape bond better when applying.
2. Cut the Required Length Measure out the length of tape needed for your application. It's generally better to cut more than you think you'll need, as overlapping helps in creating a stronger bond.
3. Start Wrapping Begin wrapping the tape around the object you are working on. Make sure to stretch the tape as you wrap it around. The more you stretch, the tighter the bond will be when the tape amalgamates.
4. Overlap the Layers As you wrap, overlap each layer by about half the width of the tape. This ensures that there's no gap in coverage and that the tape bonds properly.
5. Finish Application Once you have covered the intended area, tear the tape or cut it with scissors. Make sure the end of the tape is pressed down against the previously wrapped layers to ensure a good bond.
6. Let it Amalgamate Allow the tape some time to bond with itself, generally a few hours is enough for the amalgamating properties to take effect. The seal will become stronger over time.
7. Test the Seal If you used the tape for sealing purposes, check for any leaks or weaknesses by applying pressure or moisture to the area to ensure the tape is holding securely.
Conclusion
Amalgamating tape is a valuable tool in a variety of industries. Its unique self-bonding properties make it an ideal choice for electrical insulation, plumbing repairs, and much more. By following the steps outlined above, you can ensure the effective use of amalgamating tape for your projects, providing lasting protection and sealing capabilities. Whether you’re a DIY enthusiast or a professional, keeping amalgamating tape in your toolkit can save you time and hassle in the long run.
-
XIANGFAN Rubber Tape-Ultimate Solutions for All Your Insulation NeedsNewsJun.24,2025
-
XIANGFAN Rubber Tape-Protection for Industrial and Residential ApplicationsNewsJun.24,2025
-
XIANGFAN Rubber Tape: Superior Safety and Sealing for Demanding EnvironmentsNewsJun.24,2025
-
XIANGFAN Rubber Tape: Reliable Solutions for Every Electrical ChallengeNewsJun.24,2025
-
XIANGFAN Electrical & Industrial Tape: Powering Reliability Across IndustriesNewsJun.24,2025
-
XIANGFAN Electrical & Industrial Tape: Excellence in Every ApplicationNewsJun.24,2025
