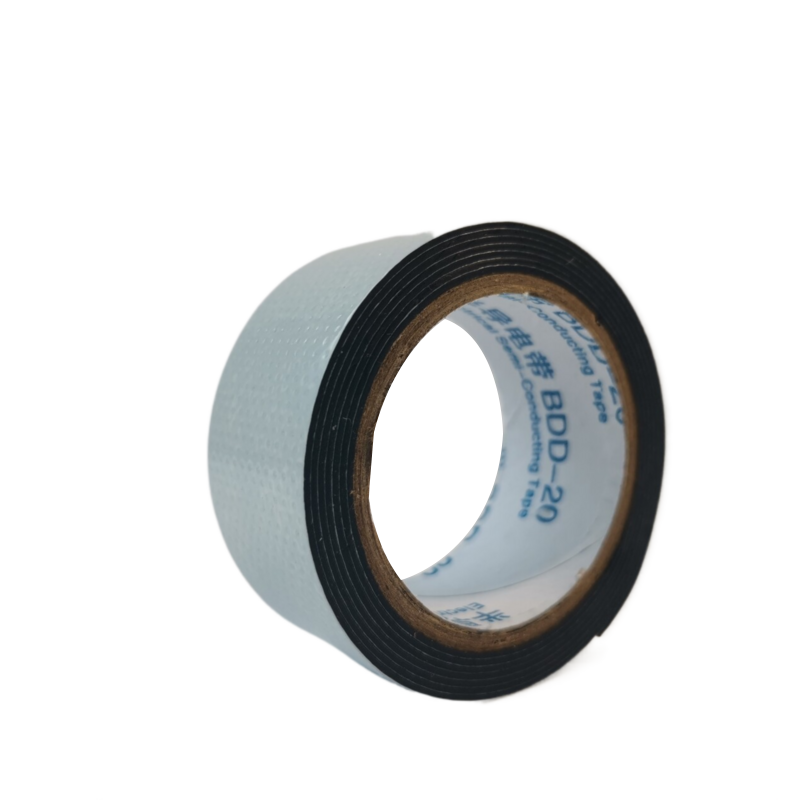
How to Use Amalgamating Tape A Comprehensive Guide
Amalgamating tape is a versatile and durable adhesive product that has gained popularity in various industries due to its unique properties. This specialized tape is designed to create a waterproof and gas-tight seal when wrapped around pipes, cables, and other surfaces. In this article, we will explore what amalgamating tape is, its applications, and a step-by-step guide on how to use it effectively.
What is Amalgamating Tape?
Amalgamating tape, often referred to as self-amalgamating tape, is a non-sticky vinyl or rubber tape that fuses upon contact with itself. Unlike regular adhesive tapes, it does not have a sticky backing that adheres to surfaces. Instead, it relies on pressure and time to bond with itself, allowing it to create a tight, waterproof seal. This unique property makes it ideal for electrical insulation, plumbing repairs, and other situations where moisture and air permeability are concerns.
Applications of Amalgamating Tape
Amalgamating tape has a wide range of applications, including
1. Electrical Insulation It provides excellent insulation for electrical wires and cables, protecting them from moisture and physical wear.
2. Plumbing Repairs When wrapped around leaking pipes, amalgamating tape can create a temporary seal until more permanent repairs can be made.
3. Automotive Use It is often used in vehicles to insulate and protect wires and connectors from the elements.
4. Sports Equipment Athletes often use amalgamating tape to secure grips on sports gear or to reinforce equipment.
5. Marine Applications Because of its waterproof properties, it is ideal for use in boats and other marine equipment to prevent corrosion and leaks.
How to Use Amalgamating Tape Effectively
Using amalgamating tape is straightforward, but proper application is key to ensuring a strong seal. Here is a step-by-step guide on how to use amalgamating tape effectively
Step 1 Prepare the Surface
how to use amalgamating tape

Ensure that the surface to which you will be applying the tape is clean and dry. Remove any dirt, grease, or old tape. A clean surface will help the amalgamating tape adhere better to itself.
Step 2 Cut the Appropriate Length
Cut a length of amalgamating tape that is long enough to cover the area you wish to seal. It is usually better to cut a longer piece and overlap it than to cut a piece that is too short.
Step 3 Start Wrapping
Begin at one end of the area you are sealing, and wrap the tape around the surface. Make sure that each wrap overlaps the previous one by at least half of the width of the tape. This overlap is crucial for creating a solid seal.
Step 4 Apply Pressure
As you wrap the tape, apply firm pressure to ensure that it bonds with itself. The more pressure you apply, the stronger the seal will be. Additionally, the tape should be stretched slightly as you wrap; this tension will help improve the fusion between layers.
Step 5 Finish the Application
Once you have wrapped the desired area, ensure that the last section is securely pressed down to adhere to the previous layer. For maximum effectiveness, allow the tape to sit undisturbed for a few minutes to allow full amalgamation.
Step 6 Inspect Your Work
After the tape has had some time to bond, inspect your work to ensure there are no gaps or loose ends. A well-applied amalgamating tape should provide a seamless, waterproof barrier.
Conclusion
Amalgamating tape is a remarkable tool that offers a simple yet effective solution for a variety of sealing needs. Its unique self-fusing properties make it ideal for challenging environments, ensuring durability and protection against moisture and wear. By following the steps outlined in this guide, you can effectively use amalgamating tape for electrical, plumbing, automotive, and many other applications. Next time you face a sealing challenge, consider reaching for amalgamating tape for a secure and reliable fix.
-
XIANGFAN Rubber Tape-Ultimate Solutions for All Your Insulation NeedsNewsJun.24,2025
-
XIANGFAN Rubber Tape-Protection for Industrial and Residential ApplicationsNewsJun.24,2025
-
XIANGFAN Rubber Tape: Superior Safety and Sealing for Demanding EnvironmentsNewsJun.24,2025
-
XIANGFAN Rubber Tape: Reliable Solutions for Every Electrical ChallengeNewsJun.24,2025
-
XIANGFAN Electrical & Industrial Tape: Powering Reliability Across IndustriesNewsJun.24,2025
-
XIANGFAN Electrical & Industrial Tape: Excellence in Every ApplicationNewsJun.24,2025
