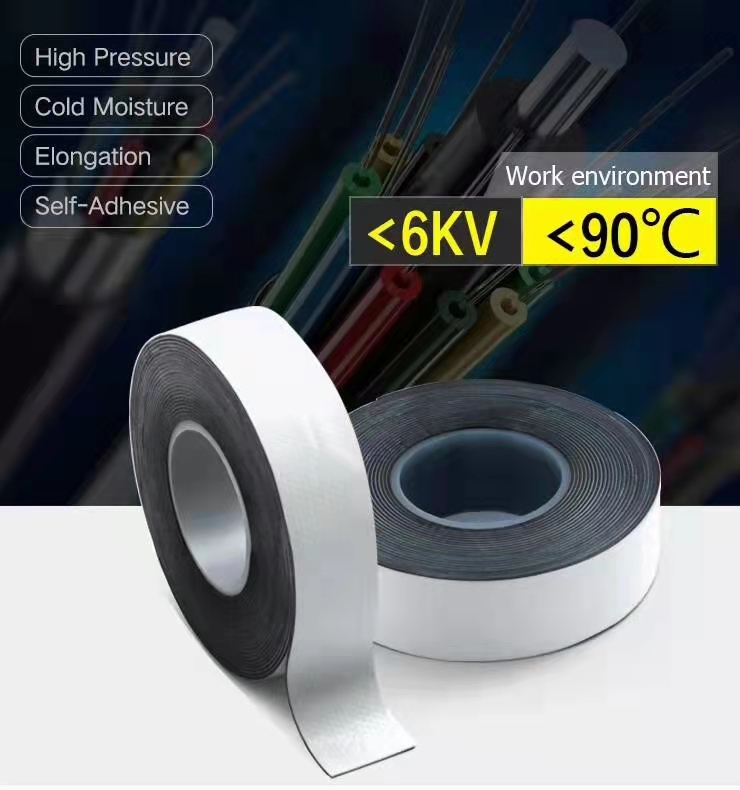
How to Use Self-Amalgamating Repair Tape A Comprehensive Guide
Self-amalgamating repair tape, often referred to as self-fusing tape or silicone tape, is a versatile and innovative product widely used for various repair applications. This unique type of tape is an invaluable tool in many environments, from home repairs to industrial settings. Its properties allow it to bond to itself without requiring any adhesive, making it an ideal solution for numerous challenges. In this article, we’ll explore what self-amalgamating tape is, its benefits, and a step-by-step guide on how to use it effectively.
What is Self-Amalgamating Repair Tape?
Self-amalgamating repair tape is typically made from silicone or a similar rubbery material that has the ability to fuse to itself when stretched and applied. Unlike traditional tapes that have an adhesive backing, this tape works by creating a strong bond through pressure and time. The result is a waterproof, air-tight seal that is resistant to a wide range of temperatures and chemicals, making it suitable for both electrical and mechanical repairs.
Benefits of Self-Amalgamating Repair Tape
1. No Adhesive Residue One of the standout features of self-amalgamating tape is that it leaves no sticky residue behind, making it easy to remove or reposition as needed. 2. Temperature Resistance This tape can often withstand extreme temperatures, usually ranging from -50°C to 260°C (-58°F to 500°F), allowing it to be used in a variety of environments.
3. Water and Chemical Resistance It provides an excellent seal that is resistant to water and many chemical substances, making it perfect for outdoor repairs or plumbing applications.
5. Durability Once fused, the tape becomes a solid mass that is durable and capable of withstanding vibrations and other stressors.
How to Use Self-Amalgamating Repair Tape
how to use self amalgamating repair tape

Using self-amalgamating tape is straightforward. Here’s a step-by-step guide
1. Clean the Surface Before applying the tape, make sure the surface you intend to repair is clean and dry. Remove any dirt, grease, or debris to ensure optimal adhesion. Depending on the application, you may want to use rubbing alcohol or a similar cleaner.
2. Cut the Tape Measure the length of tape you will need for your repair. Self-amalgamating tape typically comes in rolls, so you can cut off a length that is long enough to cover the area you wish to repair, plus some overlap for a stronger seal.
3. Stretch the Tape To activate the self-amalgamating properties, start handling the tape by stretching it slightly as you unwrap it. This ensures that it will bond better when applied.
4. Wrap the Tape Begin wrapping the tape around the damaged area or the part you wish to repair. Make sure to overlap each wrap by about half the width of the tape. This overlapping ensures a more secure and watertight seal.
5. Press Firmly As you apply the tape, press it down firmly while continuing to wrap. The pressure will help the layers bond to each other.
6. Finish the Application Once you have covered the area adequately, cut off the tape and press the end down firmly to ensure a strong bond. Allow the tape to fuse together for optimal performance.
7. Cure Time Although the tape bonds quickly, it is advisable to allow some time for the fusion to occur fully—typically a few hours is sufficient, but it can vary based on the conditions.
Conclusion
Self-amalgamating repair tape is a handy tool that can solve a wide range of repair problems efficiently and effectively. Its unique properties make it an excellent choice for anyone looking to perform quick fixes without the hassle of traditional adhesives. Whether you're a DIY enthusiast or a professional, having a roll of self-amalgamating tape in your toolkit is sure to come in handy for unexpected repairs. With this comprehensive guide, you can confidently approach any project that requires a durable, water-resistant seal.
-
XIANGFAN Rubber Tape-Ultimate Solutions for All Your Insulation NeedsNewsJun.24,2025
-
XIANGFAN Rubber Tape-Protection for Industrial and Residential ApplicationsNewsJun.24,2025
-
XIANGFAN Rubber Tape: Superior Safety and Sealing for Demanding EnvironmentsNewsJun.24,2025
-
XIANGFAN Rubber Tape: Reliable Solutions for Every Electrical ChallengeNewsJun.24,2025
-
XIANGFAN Electrical & Industrial Tape: Powering Reliability Across IndustriesNewsJun.24,2025
-
XIANGFAN Electrical & Industrial Tape: Excellence in Every ApplicationNewsJun.24,2025
