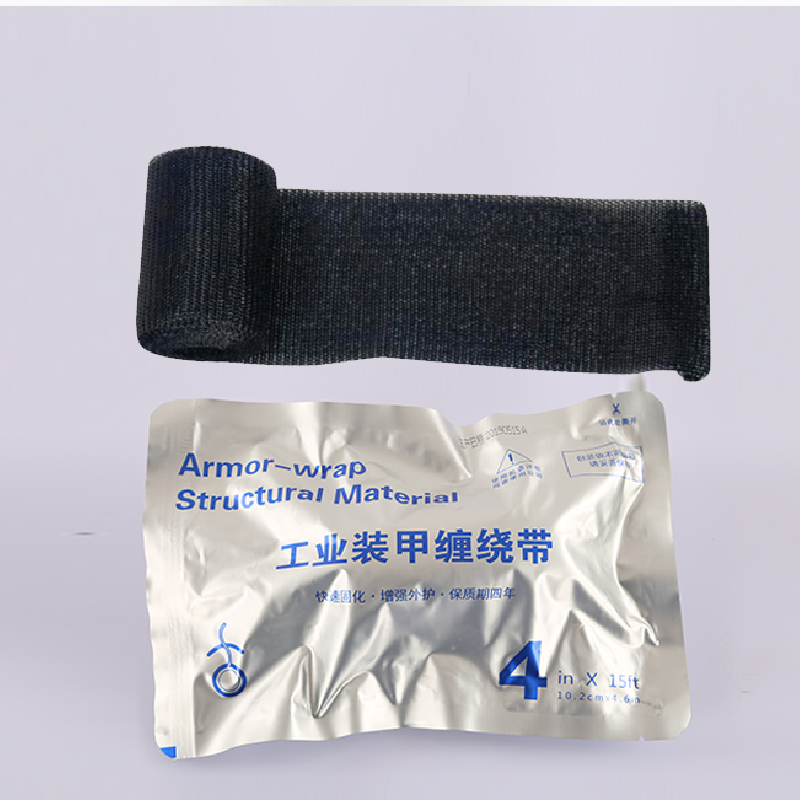
How to Use Self-Amalgamating Rubber Tape A Comprehensive Guide
Self-amalgamating rubber tape, also known as self-fusing tape, is an innovative product used in various applications, particularly in electrical insulation, plumbing, and automotive repairs. Unlike traditional tapes, self-amalgamating rubber tape doesn’t have an adhesive; instead, it fuses to itself when stretched and wrapped. This unique property makes it an excellent choice for creating airtight and waterproof seals. In this article, we’ll explore how to properly use self-amalgamating rubber tape, covering its applications, benefits, and step-by-step instructions.
Applications of Self-Amalgamating Rubber Tape
Self-amalgamating rubber tape has several uses, making it a versatile tool in many industries
1. Electrical Insulation It is commonly used to insulate electrical wires and connections, protecting them from moisture and environmental damage.
2. Plumbing Repairs This tape is effective for wrapping leaking pipes and hoses, providing a quick, temporary fix until a more permanent solution can be implemented.
3. Automotive Repairs Car enthusiasts often use it for various repairs, such as insulating wiring or sealing fuel and coolant lines.
4. General Repairs It can be used for repairing sporting equipment, tools, and other household items.
Benefits of Self-Amalgamating Rubber Tape
- Waterproof and Airtight Once applied, the tape forms a tight seal that prevents moisture ingress. - High Temperature Resistance It can withstand various temperatures, making it suitable for both indoor and outdoor use. - Easy to Use The application process is straightforward and requires no special tools. - Flexible and Durable The tape maintains its elasticity and won’t crack or degrade over time.
Step-by-Step Guide to Using Self-Amalgamating Rubber Tape
Step 1 Prepare the Surface
Before applying the tape, ensure that the surface is clean and dry. If you are working with pipes or electrical connections, clean them thoroughly to remove any dirt, grease, or moisture. This ensures better adhesion and an effective seal.
how to use self amalgamating rubber tape

Step 2 Cut the Tape
Cut a length of self-amalgamating tape that is adequate for your application. A general rule of thumb is to cut enough tape to wrap around the area 2-3 times for a secure seal.
Step 3 Stretch the Tape
To activate the self-amalgamating properties, you need to stretch the tape as you apply it. Begin by peeling off the backing (if applicable), but some self-amalgamating tapes come without any backing. Stretch the tape slightly as you wrap it around the surface. This stretch will help the tape to fuse with itself once applied.
Step 4 Wrap the Tape
Start by wrapping the tape around the target area, overlapping each layer by about half the width of the tape. This overlap is crucial as it ensures there are no gaps in the seal. Keep the tension consistent to allow for accurate fusing.
Step 5 Ensure Complete Fusion
Continue wrapping the tape tightly around the area until the desired coverage is achieved. Once you reach the end of the tape, press it down firmly against the previous wraps. The tape will start to amalgamate and create a robust seal.
Step 6 Allow Time to Cure
Although the tape fuses quickly, it's best to give it some time to fully set. Allow the tape to cure for at least 24 hours for maximum strength and performance, especially for applications involving water or extreme temperatures.
Final Thoughts
Self-amalgamating rubber tape is a must-have tool for anyone involved in electrical work, plumbing, or repairs. Its unique properties and ease of use make it an effective option for creating waterproof and airtight seals in various applications. By following the steps outlined in this guide, you'll be well-equipped to utilize this versatile tape effectively. Whether you are performing minor repairs at home or tackling complex electrical issues, self-amalgamating rubber tape is a reliable solution that delivers excellent results.
-
XIANGFAN Rubber Tape-Ultimate Solutions for All Your Insulation NeedsNewsJun.24,2025
-
XIANGFAN Rubber Tape-Protection for Industrial and Residential ApplicationsNewsJun.24,2025
-
XIANGFAN Rubber Tape: Superior Safety and Sealing for Demanding EnvironmentsNewsJun.24,2025
-
XIANGFAN Rubber Tape: Reliable Solutions for Every Electrical ChallengeNewsJun.24,2025
-
XIANGFAN Electrical & Industrial Tape: Powering Reliability Across IndustriesNewsJun.24,2025
-
XIANGFAN Electrical & Industrial Tape: Excellence in Every ApplicationNewsJun.24,2025
