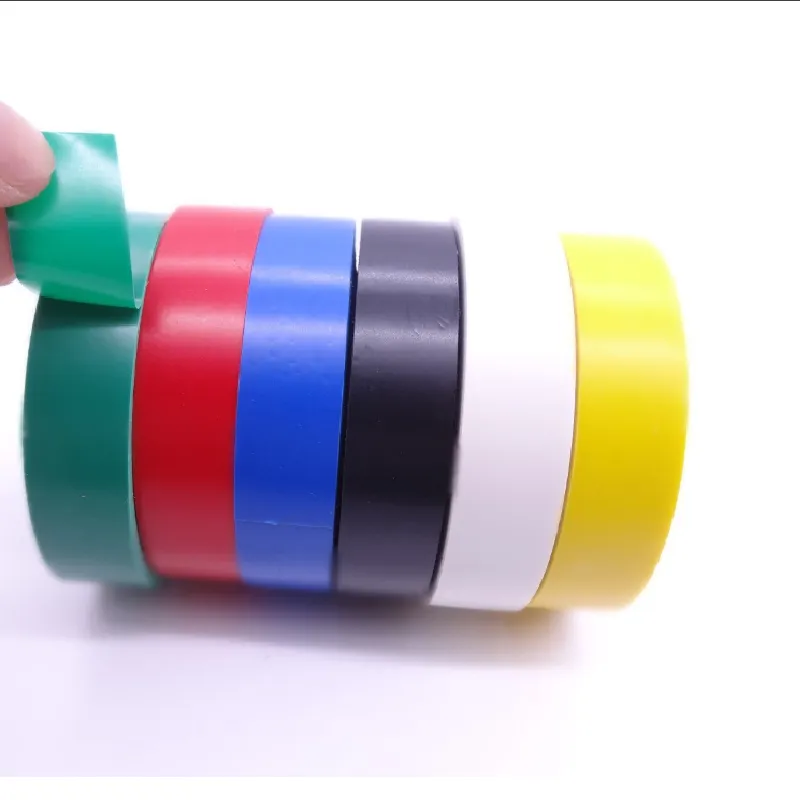
How to Use Self-Amalgamating Tape
Self-amalgamating tape, also known as self-fusing or self-bonding tape, is a versatile and handy tool for various applications in both household and professional settings. Made from a rubberized elastomer, this tape fuses to itself when wrapped tightly, creating a permanent seal without the need for adhesives. Here’s how to effectively use self-amalgamating tape for repairing, insulating, and waterproofing.
Understanding Self-Amalgamating Tape
Before diving into the application, it’s essential to understand the unique properties of self-amalgamating tape. Unlike traditional adhesive tapes that rely on glue to stick, self-amalgamating tape adheres to itself. This feature allows it to form a solid and waterproof seal, making it ideal for electrical repairs, plumbing fixes, and even automotive applications. The tape is often resistant to UV rays, aging, and is suitable for use in extreme temperature ranges.
Preparing for Use
To maximize the effectiveness of self-amalgamating tape, follow these preparatory steps
1. Clean the Surface Ensure that the surface where you’ll apply the tape is clean, dry, and free from dirt, grease, and moisture. Use a cloth or a mild cleaning solution if necessary.
2. Choose the Right Tape Self-amalgamating tape comes in various widths and thicknesses. Select a tape size that is appropriate for your project. If you're unsure, a wider tape can often accommodate a broader range of applications.
Application Steps
Follow these steps to apply self-amalgamating tape effectively
1. Start Wrapping Begin by anchoring the tape on one end of the surface you wish to repair or insulate. Hold the tape at a slight angle as you start wrapping it around.
how to use self amalgamating tape

2. Overlap the Layers When wrapping the tape, ensure that you overlap each layer by about 50%. This overlap ensures that the tape fuses correctly and creates a strong seal. It’s crucial to maintain tension while wrapping to achieve a robust bond.
3. Continue Wrapping Keep wrapping the tape around the surface until you cover the entire area requiring protection. For vulnerabilities or exposed wires, make sure you wrap an extra layer for added security.
4. Finish the Wrap Once you have achieved the desired coverage, press and hold the end of the tape against the previous layers for a few moments. This helps activate the self-amalgamating properties.
5. Cure Time Allow the tape to cure undisturbed for several hours to ensure it forms a solid seal. Depending on environmental conditions, the tape may need more time to fully fuse.
Tips for Optimal Use
- Avoid Overheating While self-amalgamating tape can withstand high temperatures, it’s best used in environments that do not exceed recommended limits. Heat can cause tapes to lose their adhesive properties.
- Store Properly Keep unused tape in a cool, dry place away from direct sunlight to extend its shelf life.
- Use in Wet Conditions One of the advantages of self-amalgamating tape is its performance in wet environments. This makes it ideal for plumbing repairs or outdoor applications where electrical components might be exposed to moisture.
Conclusion
Self-amalgamating tape is an invaluable material for anyone looking to make quick and effective repairs. Its unique ability to bond to itself rather than relying on adhesive makes it a reliable choice for electrical insulation, waterproofing, and more. By following the preparation and application steps outlined in this guide, you can ensure that your repairs are durable, effective, and long-lasting. Whether you’re a DIY enthusiast or a professional, understanding how to use self-amalgamating tape can greatly enhance your repair toolkit.
-
XIANGFAN Rubber Tape-Ultimate Solutions for All Your Insulation NeedsNewsJun.24,2025
-
XIANGFAN Rubber Tape-Protection for Industrial and Residential ApplicationsNewsJun.24,2025
-
XIANGFAN Rubber Tape: Superior Safety and Sealing for Demanding EnvironmentsNewsJun.24,2025
-
XIANGFAN Rubber Tape: Reliable Solutions for Every Electrical ChallengeNewsJun.24,2025
-
XIANGFAN Electrical & Industrial Tape: Powering Reliability Across IndustriesNewsJun.24,2025
-
XIANGFAN Electrical & Industrial Tape: Excellence in Every ApplicationNewsJun.24,2025
