How to Use Self-Amalgamating Tape A Complete Guide
Self-amalgamating tape, also known as self-fusing tape, is a versatile and effective solution for a wide range of applications, from electrical insulation to plumbing repairs. This innovative product has gained popularity due to its unique properties, such as the ability to bond to itself without the need for an adhesive. In this article, we will explore what self-amalgamating tape is, its benefits, and a step-by-step guide on how to use it effectively.
What is Self-Amalgamating Tape?
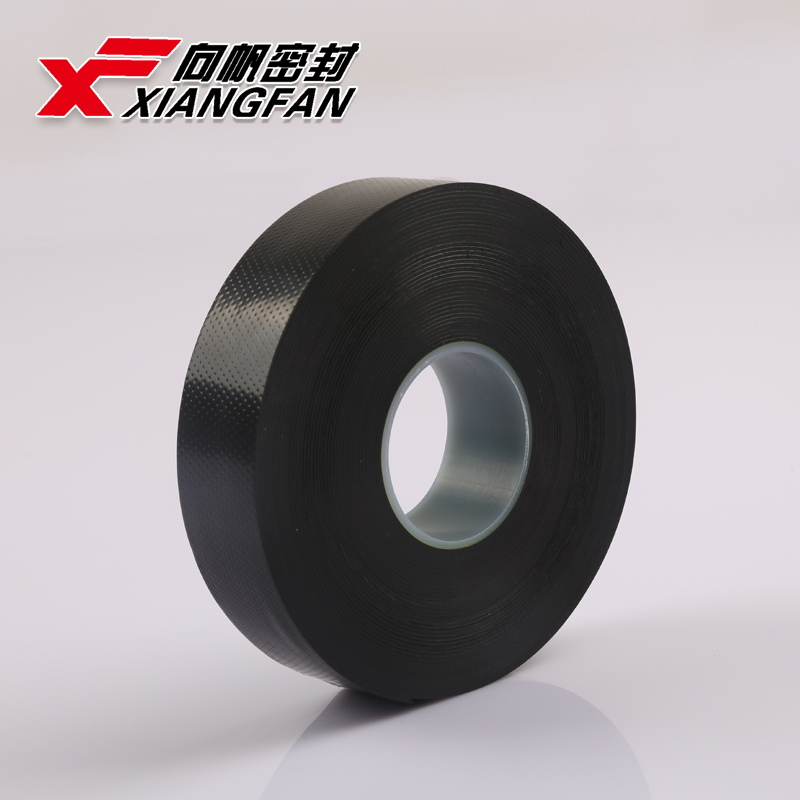
Self-amalgamating tape is a rubber-based tape that adheres to itself when stretched and wrapped around an object. It does not stick to other surfaces, making it ideal for repairs and insulation. Commonly used in electrical applications, plumbing, and automotive repairs, this tape provides a waterproof and durable seal.
Benefits of Self-Amalgamating Tape
1. No Adhesive Residue Since the tape bonds to itself rather than to the surface, there is no sticky residue left behind when removed, ensuring a clean finish.
2. Waterproof Seal The tape creates a tight seal that is resistant to water and moisture, making it perfect for outdoor use or in areas prone to humidity.
3. High Voltage Insulation It can be used for electrical insulation applications, withstanding high voltages without compromising safety.
4. Temperature Resistance The tape can endure a wide range of temperatures, making it suitable for various environments.
how to use self amalgamating tape

How to Use Self-Amalgamating Tape
Using self-amalgamating tape is straightforward and requires minimal preparation. Follow these steps to ensure a successful application
1. Clean the Surface Before applying the tape, make sure the surface is clean and dry. Remove any dirt, dust, or grease that may interfere with the bond.
2. Cut the Tape Measure the length of tape you will need and cut it to size. It's better to cut more than you think you'll need, as overlapping layers provide better sealing.
3. Start Wrapping Begin wrapping the tape around the object. Make sure to stretch the tape slightly as you wrap; this is crucial for the self-amalgamation process. Wrap it tightly but avoid excessive tension that may cause the tape to tear.
4. Overlap Layers When wrapping, ensure that each layer overlaps the previous one by about half. This method enhances the overall seal and provides extra insulation.
5. Finish the Application Once you have reached the end of the repair area, cut the tape and press the last section against the wrapped tape to ensure it adheres properly. The edges should fuse together to form a solid, seamless barrier.
6. Curing Time Allow the tape to cure for at least 24 hours for optimal performance. During this time, the tape will fully amalgamate and form a strong bond.
Conclusion
Self-amalgamating tape is an invaluable tool for anyone seeking a reliable and effective way to make repairs or create insulation. With its unique properties and ease of use, it has become a favorite among DIY enthusiasts and professionals alike. By following the steps outlined in this guide, you will be able to utilize this tape effectively and achieve seamless, durable results in your projects. Whether it's for electrical repairs, plumbing issues, or general use, self-amalgamating tape is a solution worth having in your toolbox.
-
XIANGFAN Rubber Tape-Ultimate Solutions for All Your Insulation NeedsNewsJun.24,2025
-
XIANGFAN Rubber Tape-Protection for Industrial and Residential ApplicationsNewsJun.24,2025
-
XIANGFAN Rubber Tape: Superior Safety and Sealing for Demanding EnvironmentsNewsJun.24,2025
-
XIANGFAN Rubber Tape: Reliable Solutions for Every Electrical ChallengeNewsJun.24,2025
-
XIANGFAN Electrical & Industrial Tape: Powering Reliability Across IndustriesNewsJun.24,2025
-
XIANGFAN Electrical & Industrial Tape: Excellence in Every ApplicationNewsJun.24,2025
