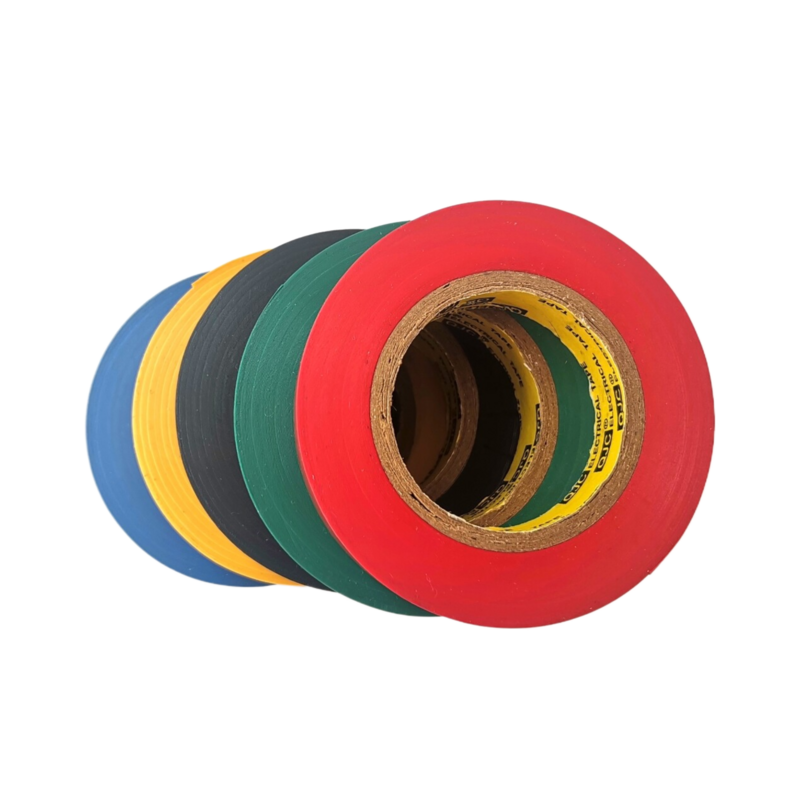
How to Use Self-Amalgamating Tape
Self-amalgamating tape, often referred to as self-fusing or insulating tape, is a versatile tool popular among electricians and DIY enthusiasts for its ability to create strong, waterproof seals without the need for adhesives. This type of tape is made of a rubber-like material that fuses to itself when stretched and wrapped around a surface. Here’s a guide on how to effectively use self-amalgamating tape for your projects.
Step 1 Prepare the Surface
Before applying self-amalgamating tape, ensure the area is clean and dry. Remove any dirt, grease, or moisture to promote better adhesion. For electrical applications, make sure the power is turned off to avoid any hazards. If you're working with a wire or cable, strip it of its insulation carefully to expose the area needing protection.
Step 2 Choose the Right Width
Self-amalgamating tape comes in various widths and thicknesses. Select the appropriate width that suits your application. For wrapping around wires, a narrower tape may suffice, while larger repairs may require broader tape. Consider the thickness as well; thicker tapes provide more cushioning and insulation.
Step 3 Start Wrapping
Begin by anchoring the tape at one end of the area you want to cover. Hold the tape in one hand and stretch it slightly as you wrap it around the surface. Overlap the tape by about half its width to ensure a complete seal. This is crucial for maximum protection, especially in electrical applications or when sealing out moisture.
how to use self amalgamating tape

Step 4 Apply Adequate Tension
As you wrap, maintain a firm but controlled tension. The self-amalgamating properties rely on the tape stretching and fusing to itself. Be cautious not to stretch it too much, as it could lead to a weak bond, or too little, resulting in insufficient coverage.
Step 5 Finish the Application
Once you’ve wrapped the entire area, cut the tape with scissors or tear it off if applicable. The last piece should be pressed down firmly to ensure that it bonds with the previous layers. Allow the tape some time to fully fuse; this can range from a few minutes to a few hours, depending on ambient temperature and humidity.
Step 6 Inspect the Seal
After the tape has set, inspect your work. Check for any gaps or areas that may not have adhered properly. If needed, apply another layer of self-amalgamating tape over any weak points.
Self-amalgamating tape is an excellent choice for quick, reliable repairs and insulation. By following these simple steps, you can confidently utilize this adhesive-free solution in various applications, from electrical work to plumbing repairs, ensuring durability and protection against moisture.
-
XIANGFAN Rubber Tape-Ultimate Solutions for All Your Insulation NeedsNewsJun.24,2025
-
XIANGFAN Rubber Tape-Protection for Industrial and Residential ApplicationsNewsJun.24,2025
-
XIANGFAN Rubber Tape: Superior Safety and Sealing for Demanding EnvironmentsNewsJun.24,2025
-
XIANGFAN Rubber Tape: Reliable Solutions for Every Electrical ChallengeNewsJun.24,2025
-
XIANGFAN Electrical & Industrial Tape: Powering Reliability Across IndustriesNewsJun.24,2025
-
XIANGFAN Electrical & Industrial Tape: Excellence in Every ApplicationNewsJun.24,2025
