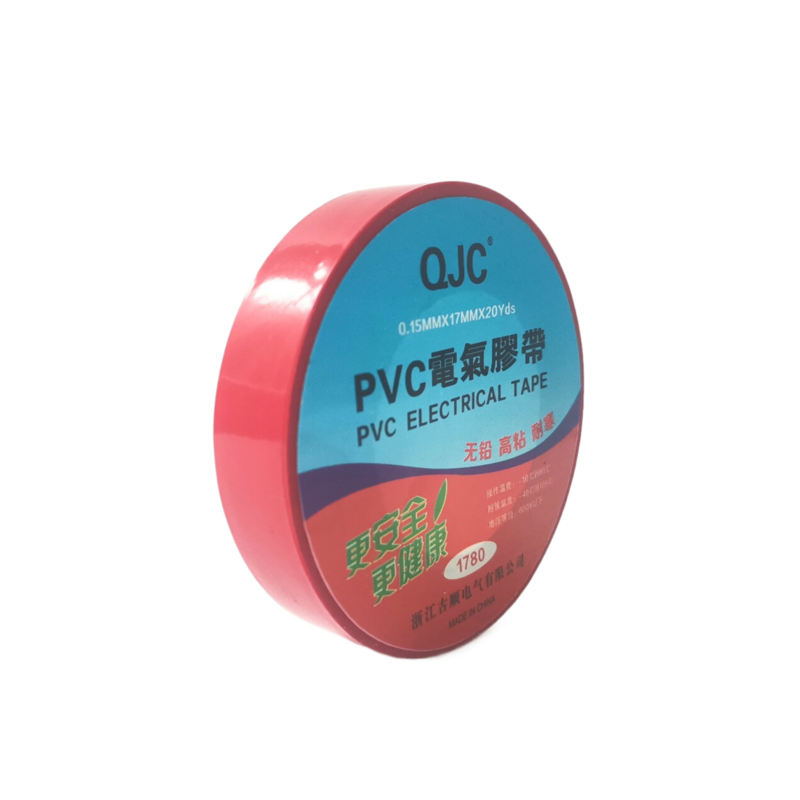
How to Use Rubber Splicing Tape Effectively
Rubber splicing tape is an incredibly versatile tool used in various applications such as electrical insulation, wiring repairs, and splicing wires. Its exceptional waterproof and weather-resistant properties make it ideal for both indoor and outdoor use. This article will guide you on how to use rubber splicing tape effectively, ensuring reliable results in your projects.
1. Understanding Rubber Splicing Tape
Before diving into the usage, it's essential to understand what rubber splicing tape is. Unlike standard electrical tape, rubber splicing tape is made from a rubber compound that offers superior adhesion and elasticity. The tape stretches and conforms to the surfaces it is applied to, which expands its usability in different situations. It is typically used to insulate electrical connections, protect wires from moisture, and provide a secure bond between materials.
2. Preparing the Surface
Before applying rubber splicing tape, it's crucial to prepare the surface properly. Start by cleaning the area where the tape will be applied. Use a cloth to remove any dirt, dust, or grease from the surface. If the surfaces are particularly grimy or oily, consider using an appropriate solvent or cleaner to ensure a solid bond. After cleaning, ensure the surface is completely dry before proceeding.
3. Cutting the Tape
Rubber splicing tape comes in various widths and thicknesses, so choose the size that best suits your project needs. When cutting the tape, use sharp scissors or a utility knife to get a clean edge. An irregular or jagged edge can lead to premature wear and ineffective sealing, so precision is key. If you're splicing wires, cut enough tape to wrap around the splice seamlessly.
rubber splicing tape how to use

To apply rubber splicing tape, start at one end of the area you want to cover. Begin wrapping the tape around the surface, stretching it as you go. This stretch is crucial as it activates the tape's adhesive properties. Aim to overlap each layer by at least half of its width for optimal sealing and protection. Continue wrapping until the desired area is covered, and then cut the tape, ensuring the last edge adheres well to the surface.
5. Finishing Touches
Once the tape is applied, press it down firmly to eliminate air bubbles and ensure a tight seal. It’s also a good idea to inspect your work for any gaps or areas that might not have adhered properly. If you notice any such imperfections, consider applying an additional layer of tape.
6. Benefits of Using Rubber Splicing Tape
The use of rubber splicing tape comes with several advantages. Its ability to insulate and protect against moisture makes it ideal for outdoor applications. Additionally, the flexibility and durability of the tape allow it to withstand harsh conditions, making it a go-to option for professionals and DIY enthusiasts alike.
Conclusion
Rubber splicing tape is an essential tool for anyone looking to perform reliable electrical repairs or maintenance. By following the steps outlined in this guide, you can ensure that your applications of rubber splicing tape provide lasting, effective results. Whether you’re an expert or a novice, mastering the use of this product will benefit all your wiring and insulation needs.
-
XIANGFAN Rubber Tape-Ultimate Solutions for All Your Insulation NeedsNewsJun.24,2025
-
XIANGFAN Rubber Tape-Protection for Industrial and Residential ApplicationsNewsJun.24,2025
-
XIANGFAN Rubber Tape: Superior Safety and Sealing for Demanding EnvironmentsNewsJun.24,2025
-
XIANGFAN Rubber Tape: Reliable Solutions for Every Electrical ChallengeNewsJun.24,2025
-
XIANGFAN Electrical & Industrial Tape: Powering Reliability Across IndustriesNewsJun.24,2025
-
XIANGFAN Electrical & Industrial Tape: Excellence in Every ApplicationNewsJun.24,2025
