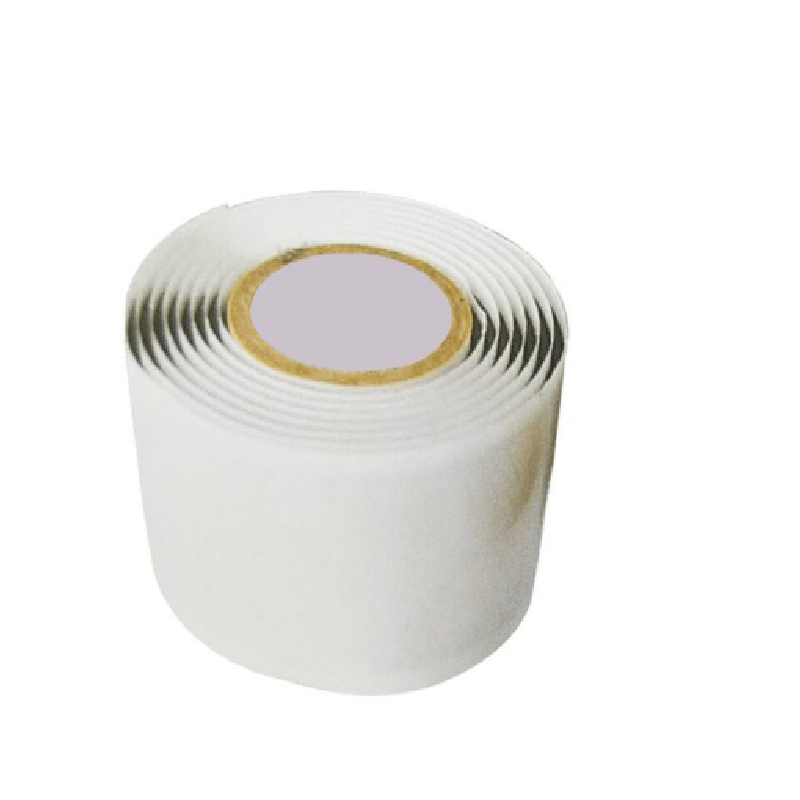
How to Use Self-Amalgamating Tape A Comprehensive Guide
Self-amalgamating tape, also known as self-fusing tape, is a versatile and efficient tool that can be used in various applications, from electrical insulation to plumbing repairs. This unique type of tape does not have an adhesive backing; instead, it fuses to itself when stretched or wrapped tightly, creating a waterproof and airtight seal. If you're uncertain about how to use self-amalgamating tape effectively, this guide will provide you with essential steps and tips to ensure a successful application.
Materials Needed
Before you start, make sure you have the following materials ready - Self-amalgamating tape - Scissors (for cutting the tape) - Clean cloth (for cleaning the surface) - Optional gloves (to keep your hands clean)
Step 1 Prepare the Surface
The first step in using self-amalgamating tape is to ensure that the surface you’re working on is clean and dry. Dirt, dust, or moisture can prevent the tape from forming a proper bond, resulting in ineffective sealing. Use a clean cloth to wipe down the area where you will apply the tape.
Step 2 Measure and Cut the Tape
Determine how much tape you will need for your specific application. It’s often better to err on the side of caution and cut more tape than you think you will need. Remember that self-amalgamating tape can stretch up to three times its original length, allowing it to conform to irregular shapes. Use scissors to cut the desired length of tape for your project.
Step 3 Starting the Application
Begin wrapping the tape around the object or surface you are intending to seal. Start at one end and make sure to overlap the tape as you wrap it around. This overlap is crucial, as it helps to create a more effective seal. Apply tension as you wrap; stretching the tape slightly will enhance its self-fusing properties.
self amalgamating tape how to use

Step 4 Finish Sealing
Continue wrapping until you reach the end of the area you want to cover. Keep in mind that the more layers you apply, the stronger the seal will be. A minimum of three to four overlapping layers is often recommended, particularly for electrical insulation or plumbing tasks. When you reach the end of your tape, you can simply cut it off. The final edge will bond with the layers beneath it, making the application seamless.
Step 5 Allow to Fuse
After you've completed the application, give the tape some time to fuse. Self-amalgamating tape needs a little time to bond completely, which usually takes a few hours. During this period, avoid exposing the tape to moisture or any stress that could compromise the seal.
Additional Tips
1. Temperature Considerations Self-amalgamating tape can perform better in certain temperatures. Avoid using it in extremely cold conditions, as the tape can become less flexible and may not form a good seal. 2. Storage Always store self-amalgamating tape in a cool and dry place. High temperatures can degrade the tape and reduce its effectiveness.
3. Application on Different Materials This tape works well on a variety of surfaces, including rubber, plastic, and metal, making it suitable for multiple applications including electrical insulation, plumbing repairs, and automotive uses.
Conclusion
Using self-amalgamating tape is straightforward and can be highly effective for a multitude of projects. By following these steps and tips, you can ensure a strong, reliable bond that resists water and air. Whether you're undertaking home repairs or working on a DIY project, this tape is an invaluable tool worth having in your kit. Embrace the convenience and durability of self-amalgamating tape for your next undertaking!
-
XIANGFAN Rubber Tape-Ultimate Solutions for All Your Insulation NeedsNewsJun.24,2025
-
XIANGFAN Rubber Tape-Protection for Industrial and Residential ApplicationsNewsJun.24,2025
-
XIANGFAN Rubber Tape: Superior Safety and Sealing for Demanding EnvironmentsNewsJun.24,2025
-
XIANGFAN Rubber Tape: Reliable Solutions for Every Electrical ChallengeNewsJun.24,2025
-
XIANGFAN Electrical & Industrial Tape: Powering Reliability Across IndustriesNewsJun.24,2025
-
XIANGFAN Electrical & Industrial Tape: Excellence in Every ApplicationNewsJun.24,2025
