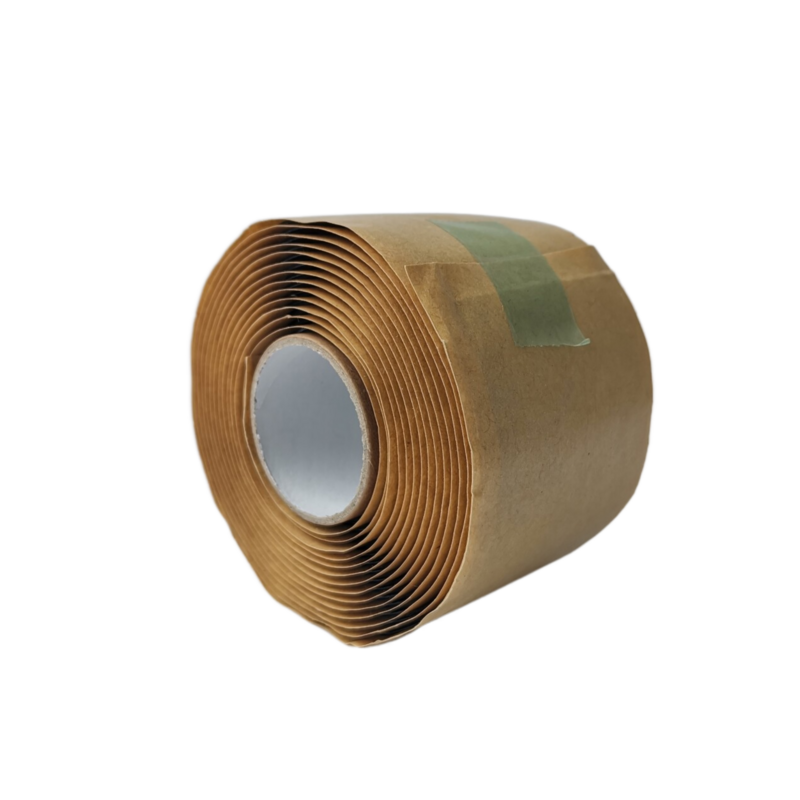
How to Use Self-Amalgamating Tape A Comprehensive Guide
Self-amalgamating tape, also known as self-fusing tape or silicone tape, is a versatile and innovative solution for various sealing, insulating, and repairing tasks. Its unique properties make it a favorite among electricians, plumbers, and DIY enthusiasts. This article will guide you on how to effectively use self-amalgamating tape, covering its applications, benefits, and step-by-step instructions for proper usage.
Understanding Self-Amalgamating Tape
Self-amalgamating tape is made from a rubber-based material that fuses upon contact without the need for any adhesive. Unlike traditional tapes, which rely on sticky backing, self-amalgamating tape works by bonding to itself when stretched and wrapped around a surface. This creates a pressure-tight seal that is both waterproof and insulating, making it ideal for a range of applications from electrical insulation to plumbing repairs.
Benefits of Self-Amalgamating Tape
1. Waterproofing The tape forms a tight seal that prevents water intrusion, making it excellent for outdoor use and on plumbing repairs. 2. Electrical Insulation It provides high dielectric strength, which is essential for protecting electrical connections and wires. 3. Temperature Resistance Self-amalgamating tape can withstand extreme temperatures, making it suitable for various environmental conditions. 4. Flexibility The tape can conform to irregular surfaces, ensuring a snug fit around pipes, wires, and other items. 5. Ease of Use Applying the tape is straightforward, requiring no special tools or additional adhesives.
How to Use Self-Amalgamating Tape
Step 1 Prepare the Surface
Before applying self-amalgamating tape, ensure the surfaces are clean and dry. Remove any dirt, grease, or moisture, as contaminants can prevent the tape from forming a proper seal. For electrical applications, it might be beneficial to lightly sand the surface for better adhesion.
Step 2 Cut the Tape
how to use self amalgamating tape

Using a pair of scissors, cut a suitable length of self-amalgamating tape. It is recommended to cut a piece that is approximately 2-3 times longer than the area you need to cover, allowing for overlapping wraps.
Step 3 Stretch the Tape
Begin wrapping the tape around the target area, stretching it as you go. The stretching process is crucial, as it activates the self-fusing properties of the tape. Ensuring that the tape is stretched will also help create a tighter seal. Overlap each layer by about half of its width to ensure complete coverage.
Step 4 Finish Wrapping
Continue wrapping the tape around the area until it is fully covered, making sure to maintain tension on the tape throughout the process. Once you reach the end of the piece, simply smooth the tape down onto the last wrap. There’s no need to press down too hard; the fusing process will occur naturally.
Step 5 Allow to Cure
After application, allow the tape to cure for at least 24 hours at room temperature. This will provide ample time for the tape to amalgamate fully, ensuring a strong and durable seal.
Conclusion
Self-amalgamating tape is an invaluable tool for anyone looking to perform quick repairs, insulation, or sealing tasks. Its unique properties and ease of use make it a go-to solution for both professionals and amateurs. By following the steps outlined above, you can effectively harness the benefits of self-amalgamating tape, ensuring that your repairs are not only effective but durable as well. Whether you’re sealing a leaky pipe or insulating electrical wires, self-amalgamating tape is an excellent choice to get the job done right.
-
Self Amalgamating Tape: Redefining Electrical Insulation and ProtectionNewsAug.07,2025
-
Seal Strip Solutions: Revolutionizing Energy Efficiency and Comfort in Modern BuildingsNewsAug.07,2025
-
High Voltage Electrical Tape: Powering Safety and Reliability in Modern InstallationsNewsAug.07,2025
-
Flex Tape Waterproof: Transforming the Future of Instant RepairsNewsAug.07,2025
-
Elevate Electrical Safety Standards with High-Performance PVC Electrical TapeNewsAug.07,2025
-
Butyl Rubber Tape: The Ultimate Solution for Reliable Sealing and WaterproofingNewsAug.07,2025
