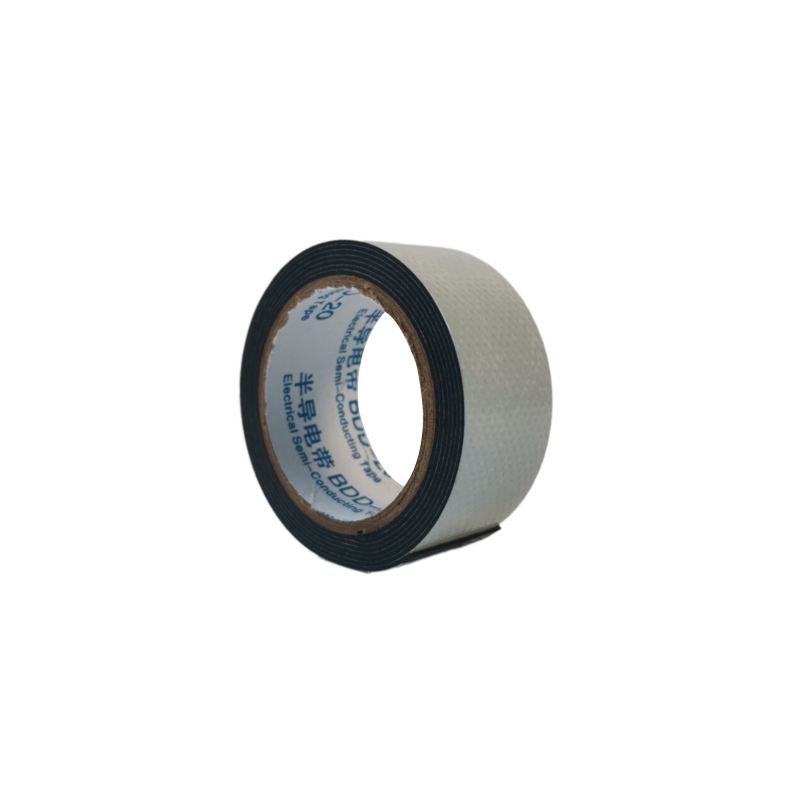
How to Use Self-Amalgamating Repair Tape A Comprehensive Guide
Self-amalgamating repair tape, also known as self-bonding tape or self-fusing tape, is a versatile and useful product for both DIY enthusiasts and professionals alike. Unlike traditional tapes, which rely on adhesives, self-amalgamating tape fuses to itself when stretched and wrapped around an object. This unique feature allows it to create a durable, waterproof, and insulating seal, making it ideal for various applications, from electrical repairs to plumbing fixes. In this article, we'll explore how to effectively use self-amalgamating repair tape in different scenarios.
1. Prepare the Surface
Before applying self-amalgamating tape, ensure that the surface is clean and dry. Remove any dirt, dust, grease, or moisture, as these can prevent the tape from forming a strong bond. For best results, use a cloth and rubbing alcohol to thoroughly clean the area. If you’re repairing a pipe, for instance, make sure it is completely dry to avoid complications.
2. Cut the Tape
Once the surface is prepared, unroll the self-amalgamating tape from its packaging. The thickness of the tape can vary, but it generally stretches and wraps around itself easily. Cut a length of tape that is adequate for the area you plan to repair; it's better to have extra tape than to run short during application.
3. Start Wrapping
Begin by attaching the end of the tape to the surface you’re repairing. Make sure to overlap the edges as you wrap the tape around the area. The recommended overlap is about 50%, which ensures a strong and effective seal. For example, when fixing a leaking pipe, start a few inches before the leak and wrap it around the pipe, extending beyond the leak by a few inches to provide additional reinforcement.
how to use self amalgamating repair tape

As you wrap, stretch the tape slightly. This stretching is crucial because it helps the tape bond to itself. The more you stretch it, the better the amalgamation effect. However, avoid overstretching, as this can cause the tape to break or lose its effectiveness.
5. Complete the Application
Continue wrapping until you cover the entire area that needs repairing. When you reach the end of your tape, cut it cleanly with scissors or a sharp knife. Firmly press the last part of the tape against the wrapped area to ensure it fuses securely. Allow the tape to rest for a few minutes to ensure that the self-amalgamation process completes successfully.
6. Testing the Repair
After applying the tape, it’s essential to test your repair. For electrical jobs, switch on the power, and for plumbing repairs, check for leaks. If applied correctly, self-amalgamating tape will create an airtight and watertight seal.
Conclusion
Self-amalgamating repair tape is an excellent solution for a wide range of repairs due to its ease of use and strong, waterproof bond. Remember to prepare the surface properly, cut the tape to an adequate length, and apply it with the right technique for the best results. Whether you’re fixing electrical wires, sealing leaks, or providing insulation, self-amalgamating tape is an indispensable tool that can help you tackle many repair tasks effectively. With just a little practice, you can master the art of using this innovative tape and ensure your repairs stand the test of time.
-
Self Amalgamating Tape: Waterproof Electrical Insulation & SealingNewsAug.30,2025
-
Self Amalgamating Tape: Waterproof Electrical & Pipe SealNewsAug.29,2025
-
Medium Voltage Fusion Tape | Self-Fusing Electrical InsulationNewsAug.28,2025
-
Butyl Rubber Tape for Ventilation PipesNewsAug.22,2025
-
Flex Tape Waterproof for Underground CablesNewsAug.22,2025
-
Flame Retardant Tapes for Circuit InsulationNewsAug.22,2025
