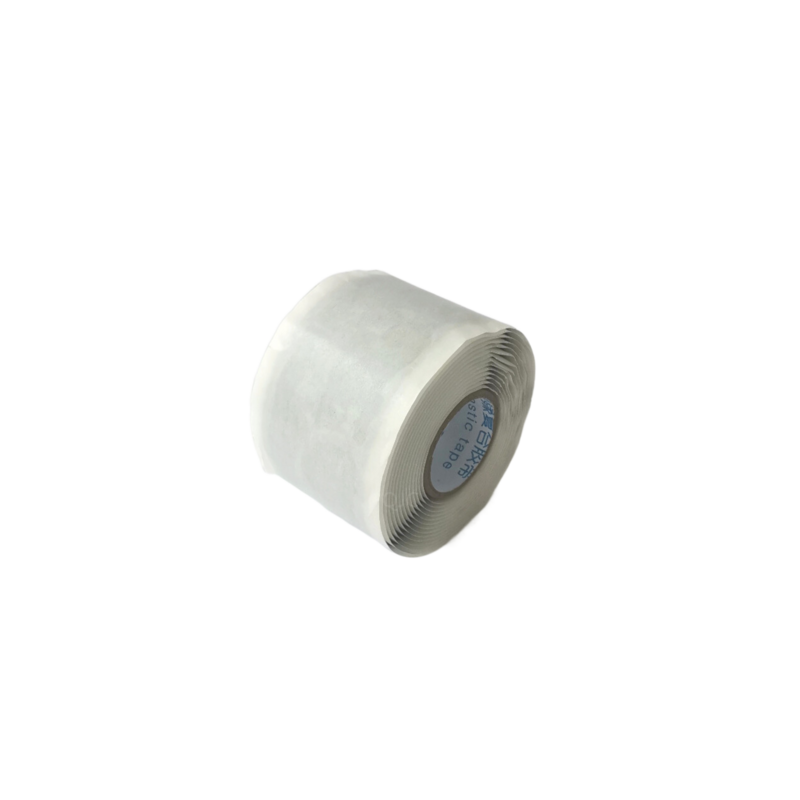
How to Use Self-Amalgamating Tape A Comprehensive Guide
Self-amalgamating tape, also known as self-fusing tape, is a versatile and useful tool for various applications, from fixing wiring to waterproofing joints. Unlike traditional adhesive tapes, self-amalgamating tape fuses to itself upon contact, forming a solid and waterproof seal. This unique property makes it ideal for electrical repairs, plumbing, and general maintenance tasks. Here’s a step-by-step guide on how to use self-amalgamating tape effectively.
Step 1 Prepare the Surface
Before applying the tape, it’s crucial to ensure that the surface is clean and dry. Any dirt, dust, or moisture can hinder the tape’s ability to bond properly. Use a cloth to wipe the area, and if necessary, a little isopropyl alcohol can help remove any grease or residues. Allow the area to dry completely before proceeding.
Step 2 Measure the Length of Tape Needed
Determine how much tape you’ll need by measuring the length of the area you want to cover. It’s a good idea to cut a bit more than you think you’ll require, as overlapping the tape can create a stronger seal. A standard self-amalgamating tape can stretch up to 300% of its original length, which provides flexibility during application.
Step 3 Initial Application
Start applying the tape at one end of the area you want to cover. Make sure you hold the tape taut for optimal adhesion. As you wrap the tape around the surface, ensure to overlap the previous layer by about half its width. This overlapping technique is vital for creating a comprehensive seal and maximizing the tape's effectiveness.
self amalgamating tape how to use

Step 4 Continue Wrapping
Continue wrapping the tape smoothly in a spiral manner, ensuring consistent tension throughout the application. The self-amalgamating properties will come into play as you wrap—this means that the tape will bond to itself rather than requiring an adhesive backing.
Step 5 Finish the Application
Once you have covered the required area, press down the last section of tape firmly to ensure it adheres well. It’s important to allow the tape to sit for a few moments so that it can fuse completely. The ideal fusing time varies by manufacturer, but usually, a few minutes will suffice.
Step 6 Inspect and Use
Finally, inspect your work to ensure there are no gaps and that the tape is securely sealed. Self-amalgamating tape is weather-resistant and durable, making it suitable for both indoor and outdoor use. Whether you’re using it for electrical repairs, automotive applications, or plumbing, this tape will provide a robust and reliable solution.
In conclusion, self-amalgamating tape is an essential tool for anyone looking to tackle repair tasks efficiently. With its ease of use and superior sealing capabilities, it’s a must-have in every toolbox.
-
XIANGFAN Rubber Tape-Ultimate Solutions for All Your Insulation NeedsNewsJun.24,2025
-
XIANGFAN Rubber Tape-Protection for Industrial and Residential ApplicationsNewsJun.24,2025
-
XIANGFAN Rubber Tape: Superior Safety and Sealing for Demanding EnvironmentsNewsJun.24,2025
-
XIANGFAN Rubber Tape: Reliable Solutions for Every Electrical ChallengeNewsJun.24,2025
-
XIANGFAN Electrical & Industrial Tape: Powering Reliability Across IndustriesNewsJun.24,2025
-
XIANGFAN Electrical & Industrial Tape: Excellence in Every ApplicationNewsJun.24,2025
