how to use self amalgamating repair tape
Back to list
Jan . 14, 2025 11:19
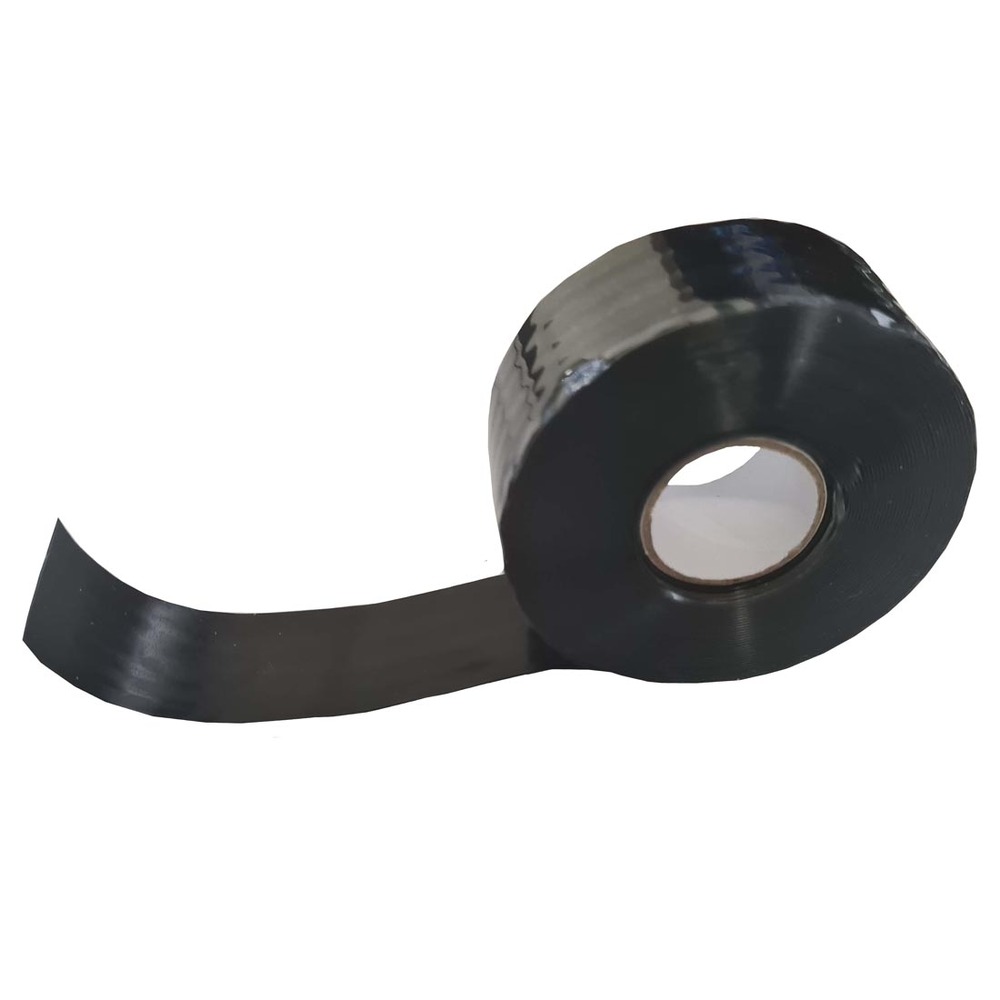
Self-amalgamating repair tape is a remarkable innovation in the field of repair and maintenance. Its ability to create a seamless, waterproof, and insulating barrier without the need for adhesive has revolutionized various applications, from outdoor cable repairs to insulative fixes in plumbing. This article delves into expert insights, real-world applications, and authoritative guidelines to effectively use this unique tape.
1. Clean the Surface Begin by ensuring the surface is clean and dry. Any grease or dust can compromise the integrity of the repair. 2. Stretch and Overlap Cut the required length of tape. As you wrap it around the object, stretch it generously. The stretching activates the amalgamation process. Overlap each layer by at least half of its width to ensure maximum adherence and coverage. 3. Bind Tightly Continue wrapping tightly around the area needing repair. For high-pressure patches or joints, add multiple layers. 4. Allow to Set Once wrapped, give the tape a few minutes to amalgamate fully. It will form a cohesive, rubbery shell around the repair site. Authoritativeness in Application Leading manufacturers and experts endorse the use of self-amalgamating tape in specific environments. Its non-conductive nature makes it ideal for electrical applications, while its waterproof qualities are perfect for temporary plumbing repairs. It's been successfully used in maintaining gardening tools, as well as in automotive repairs, to patch up leaky hoses or damaged wiring. Trustworthiness in Usage The transformation of self-amalgamating tape from a niche product to a common household item rests on its reliability. It's been subjected to rigorous testing by industry experts, proving its resilience in various conditions. Even under extreme temperatures or when exposed to saltwater, it maintains its structural integrity. In conclusion, self-amalgamating repair tape is an essential tool that combines innovative technology with practical application. Its ease of use, versatility, and dependability make it a must-have in every toolbox, whether for professional tradespeople or home DIY enthusiasts. By understanding the full potential and appropriate application of this tape, both novice users and experienced professionals can leverage its capabilities to execute efficient and long-lasting repairs. This is not just a product; it's a solution that empowers you to manage repairs confidently and competently.


1. Clean the Surface Begin by ensuring the surface is clean and dry. Any grease or dust can compromise the integrity of the repair. 2. Stretch and Overlap Cut the required length of tape. As you wrap it around the object, stretch it generously. The stretching activates the amalgamation process. Overlap each layer by at least half of its width to ensure maximum adherence and coverage. 3. Bind Tightly Continue wrapping tightly around the area needing repair. For high-pressure patches or joints, add multiple layers. 4. Allow to Set Once wrapped, give the tape a few minutes to amalgamate fully. It will form a cohesive, rubbery shell around the repair site. Authoritativeness in Application Leading manufacturers and experts endorse the use of self-amalgamating tape in specific environments. Its non-conductive nature makes it ideal for electrical applications, while its waterproof qualities are perfect for temporary plumbing repairs. It's been successfully used in maintaining gardening tools, as well as in automotive repairs, to patch up leaky hoses or damaged wiring. Trustworthiness in Usage The transformation of self-amalgamating tape from a niche product to a common household item rests on its reliability. It's been subjected to rigorous testing by industry experts, proving its resilience in various conditions. Even under extreme temperatures or when exposed to saltwater, it maintains its structural integrity. In conclusion, self-amalgamating repair tape is an essential tool that combines innovative technology with practical application. Its ease of use, versatility, and dependability make it a must-have in every toolbox, whether for professional tradespeople or home DIY enthusiasts. By understanding the full potential and appropriate application of this tape, both novice users and experienced professionals can leverage its capabilities to execute efficient and long-lasting repairs. This is not just a product; it's a solution that empowers you to manage repairs confidently and competently.
Latest news
-
XIANGFAN Rubber Tape-Ultimate Solutions for All Your Insulation NeedsNewsJun.24,2025
-
XIANGFAN Rubber Tape-Protection for Industrial and Residential ApplicationsNewsJun.24,2025
-
XIANGFAN Rubber Tape: Superior Safety and Sealing for Demanding EnvironmentsNewsJun.24,2025
-
XIANGFAN Rubber Tape: Reliable Solutions for Every Electrical ChallengeNewsJun.24,2025
-
XIANGFAN Electrical & Industrial Tape: Powering Reliability Across IndustriesNewsJun.24,2025
-
XIANGFAN Electrical & Industrial Tape: Excellence in Every ApplicationNewsJun.24,2025
