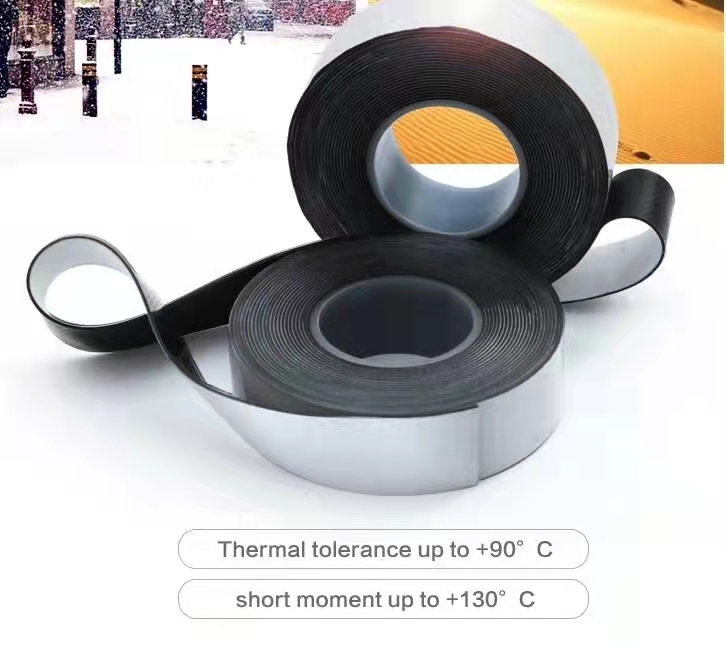
How to Use Self-Amalgamating Tape A Comprehensive Guide
Self-amalgamating tape, also known as self-fusing or self-bonding tape, is a versatile and innovative solution widely used in electrical, plumbing, and general repair applications. What makes this tape unique is its ability to bond to itself without the need for adhesive, creating a strong, waterproof seal that can withstand various environmental conditions. This guide will provide you with the necessary steps and tips on how to effectively use self-amalgamating tape.
Step 1 Prepare the Surface
Before applying self-amalgamating tape, it’s essential to prepare the surface where it will be applied. Ensure that the area is clean and dry. Remove any dirt, grease, or old tape residues, as impurities can prevent the tape from adhering effectively to itself. A clean surface will enhance the tape's ability to create a strong seal.
Step 2 Choose the Right Size and Type
Self-amalgamating tapes come in various widths and thicknesses. Selecting the appropriate tape size is critical for the task at hand. For example, for electrical insulation purposes, a narrower tape might suffice, whereas thicker tape may be necessary for plumbing repairs. Always check the manufacturer's specifications to ensure you are using the right type for your specific application.
Step 3 Start Wrapping
To use self-amalgamating tape, begin at one end of the area you wish to cover. It’s crucial to stretch the tape as you wrap it around the surface. Pulling it tightly will ensure better fusion and create a more robust seal. Overlap the tape by about half of its width as you wrap it around the object. This overlap is necessary for the tape to bond effectively with itself.
self amalgamating tape how to use

Step 4 Fusion Time
Once you have wrapped the tape around the desired area, smooth it down with your fingers to help it bond better. For a stronger fusion, allow it to sit for a while. Self-amalgamating tape can take anywhere from a few minutes to an hour to fully fuse, depending on environmental conditions such as temperature and humidity.
Step 5 Test the Seal
After giving the tape adequate time to set, it’s important to test the seal to ensure its effectiveness. For electrical applications, you can use a multimeter to check for continuity. If it’s being used for plumbing, visually inspect the seal for any leaks.
Step 6 Maintenance and Storage
After applying the tape, you should regularly inspect the sealed area, particularly if it’s exposed to extreme conditions. If you find that the tape is starting to peel or break down, replace it promptly to maintain the integrity of the seal. Store any unused tape in a cool, dry place away from direct sunlight to prolong its shelf life.
Conclusion
Self-amalgamating tape is a practical, easy-to-use solution for a variety of sealing and insulation tasks. By following the steps outlined above, you can ensure a proper application that results in a reliable and watertight seal. Whether it's for electrical projects or plumbing repairs, mastering the application of self-amalgamating tape can be a valuable addition to your toolkit.
-
XIANGFAN Rubber Tape-Ultimate Solutions for All Your Insulation NeedsNewsJun.24,2025
-
XIANGFAN Rubber Tape-Protection for Industrial and Residential ApplicationsNewsJun.24,2025
-
XIANGFAN Rubber Tape: Superior Safety and Sealing for Demanding EnvironmentsNewsJun.24,2025
-
XIANGFAN Rubber Tape: Reliable Solutions for Every Electrical ChallengeNewsJun.24,2025
-
XIANGFAN Electrical & Industrial Tape: Powering Reliability Across IndustriesNewsJun.24,2025
-
XIANGFAN Electrical & Industrial Tape: Excellence in Every ApplicationNewsJun.24,2025
